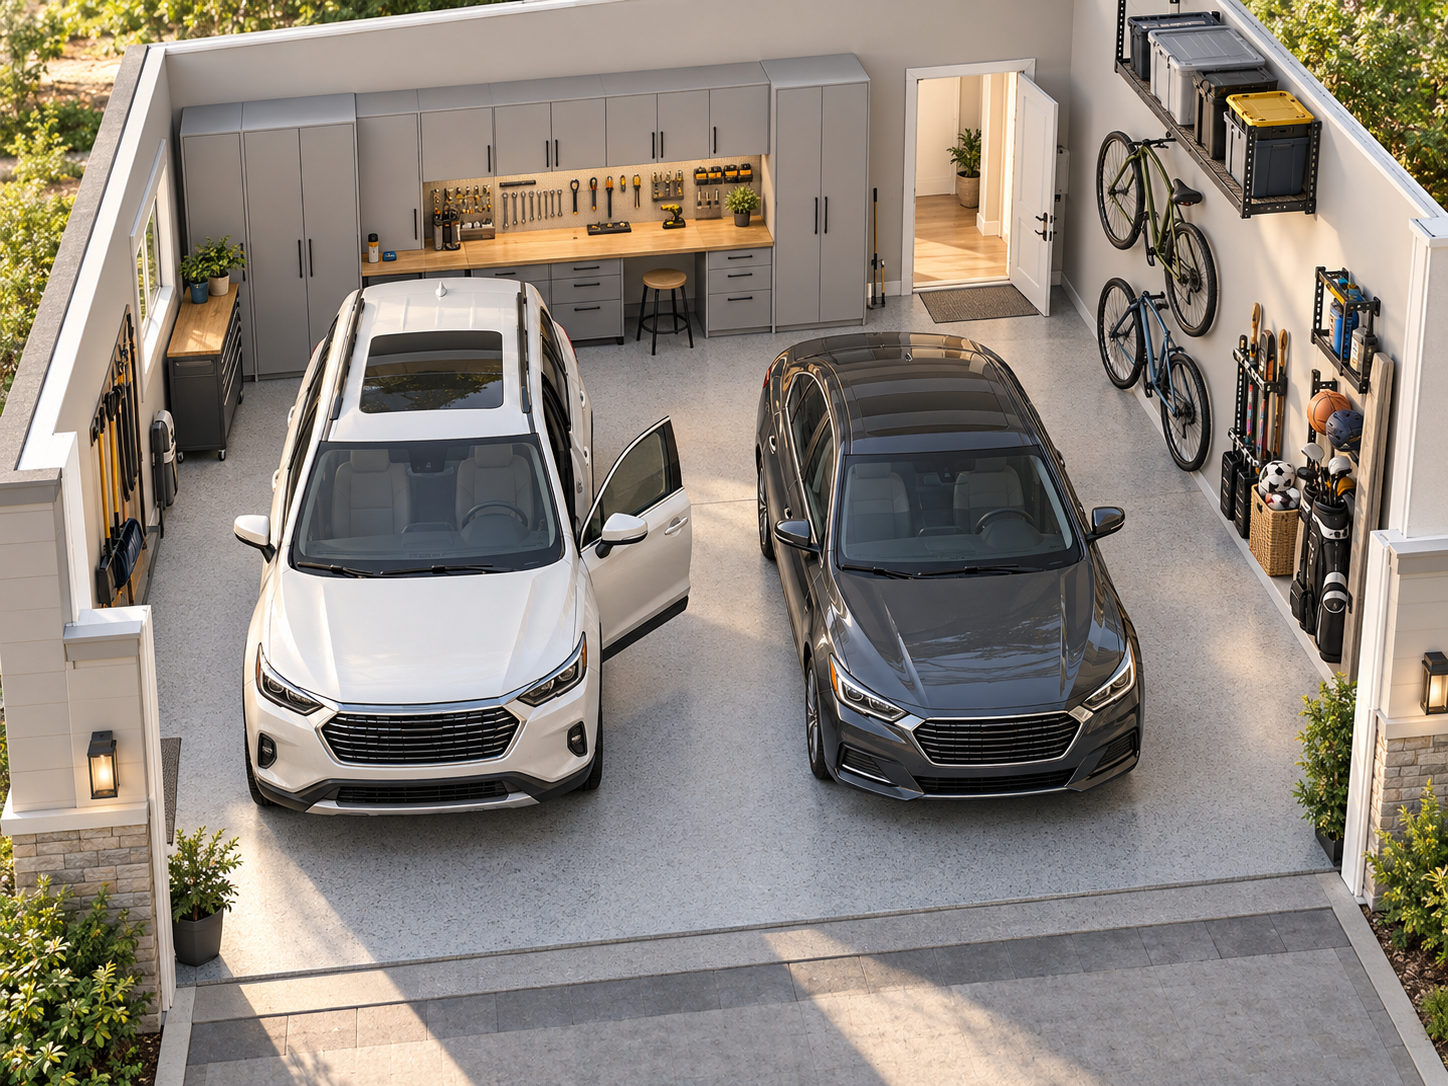
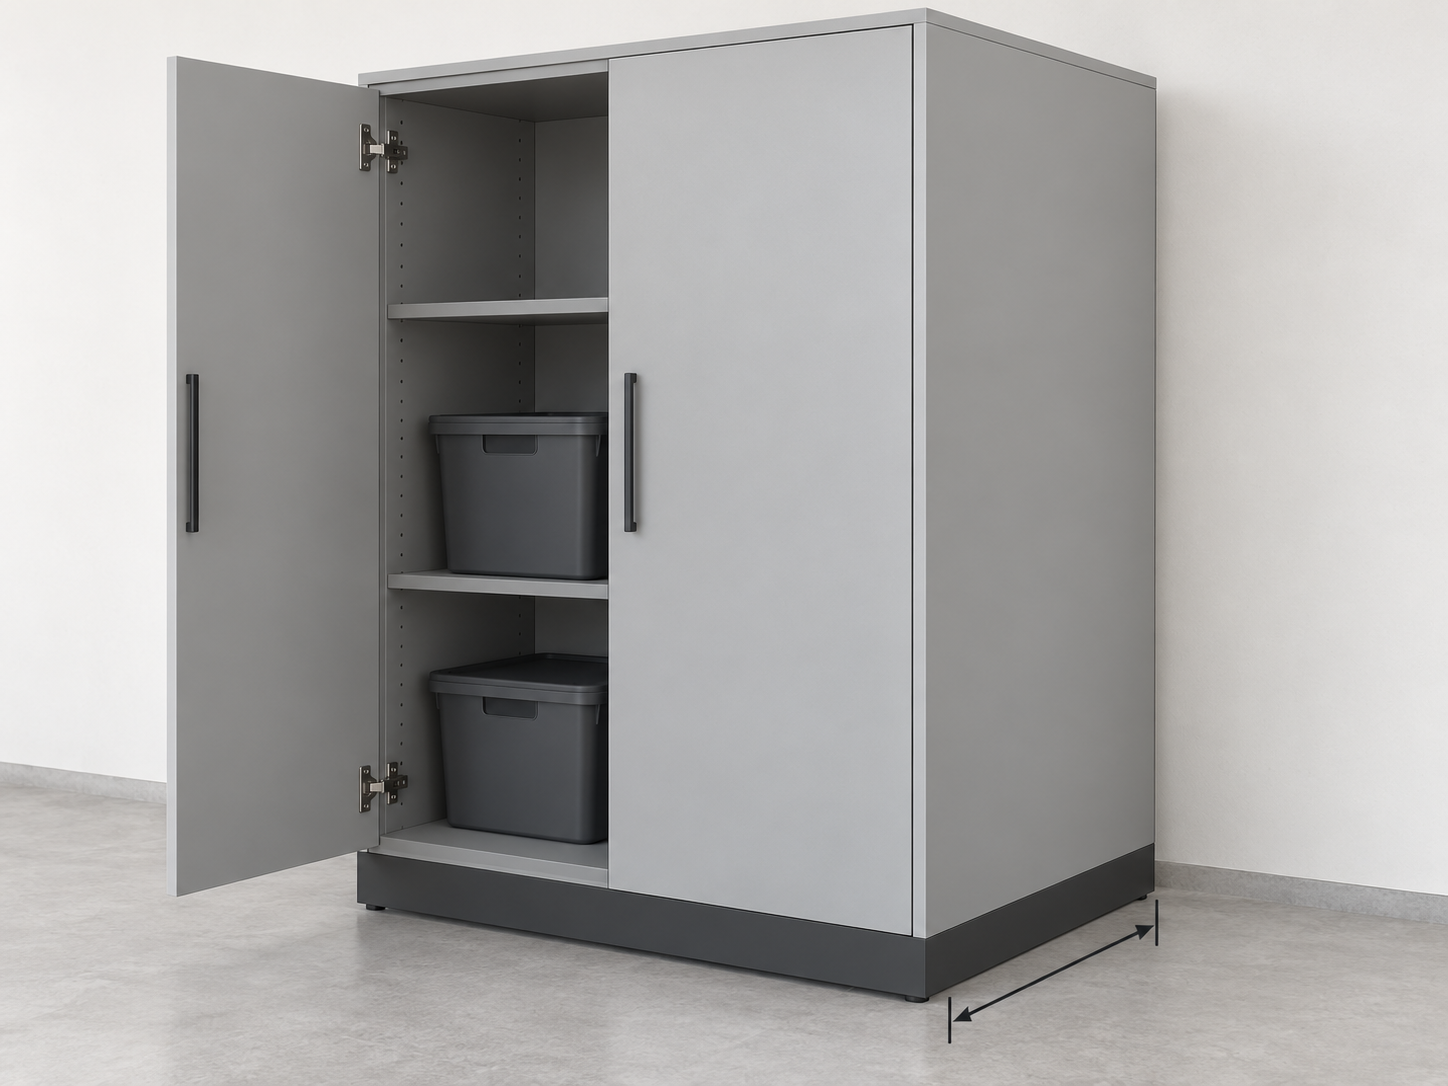
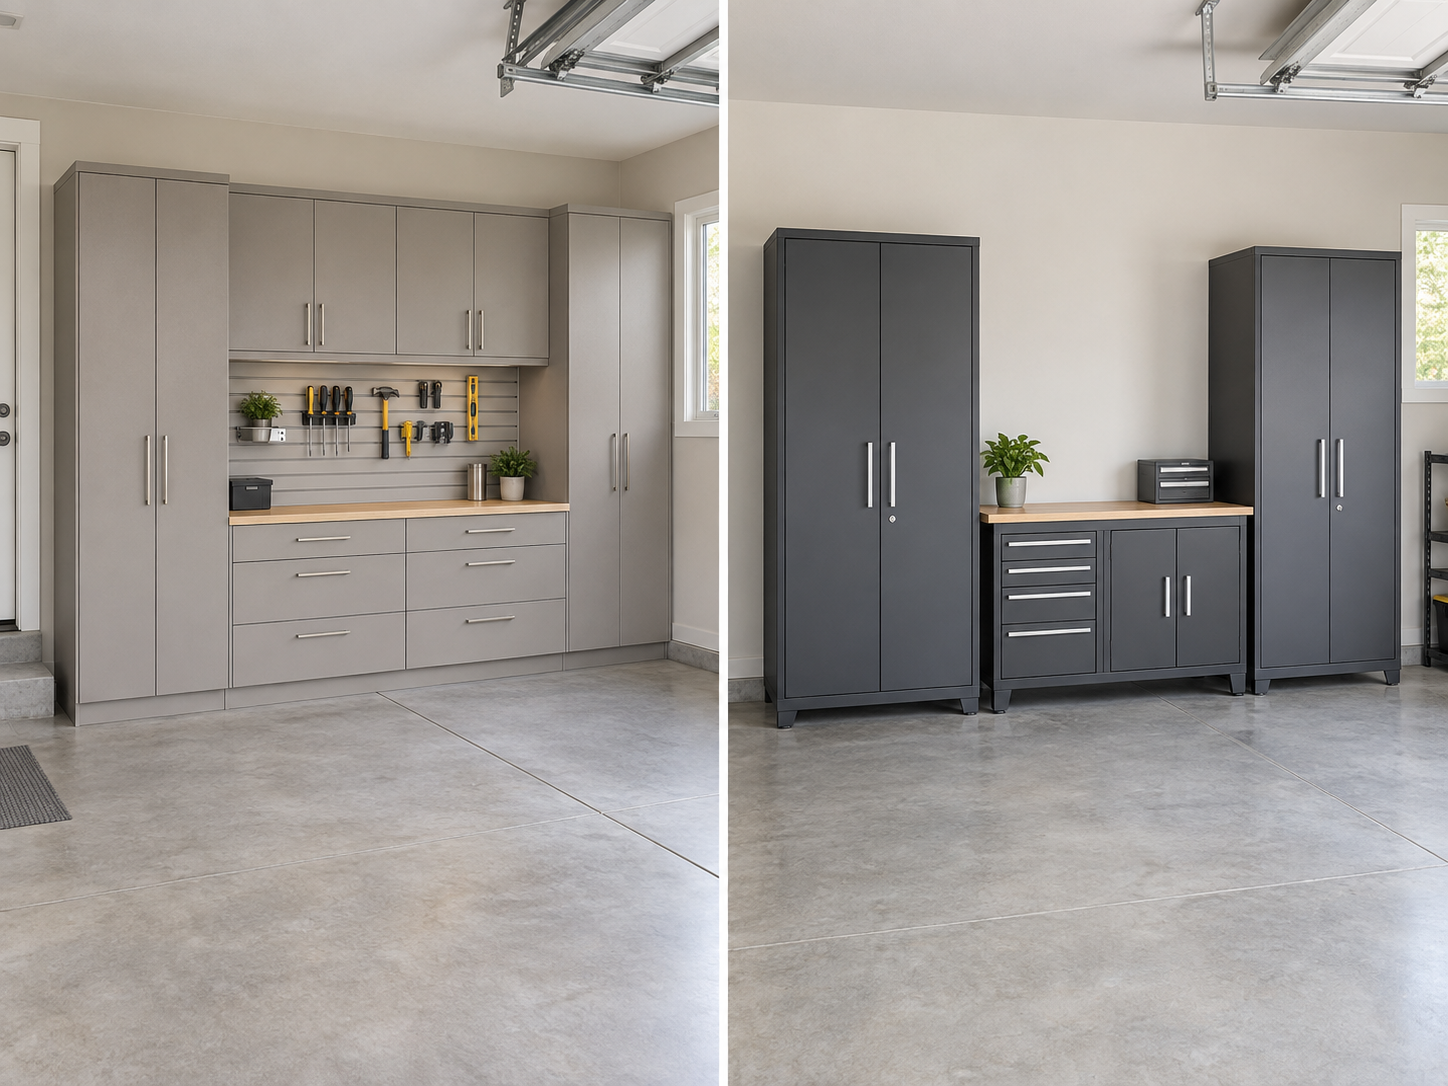
A one-car garage has to work harder when it also holds tools, bikes, skis, and camping gear. A practical single-car garage layout keeps everyday parking workable while giving tools and outdoor gear a defined home. Below, compare three arrangements based on how you use your garage: daily parking, occasional projects, or outdoor-gear storage.
Compare three single-car garage layouts
Make your layout decision around your most frequent routine. Think in three zones: parking or workspace, storage, and circulation. Each arrangement keeps parking in the plan while using dedicated storage zones and clear walking lanes to improve space efficiency.
Layout 1: Parking-first with shallow wall storage
This arrangement suits homeowners who want to pull in, unload, and reach the house without moving equipment. The vehicle keeps the central parking bay; storage fits around its access area rather than competing with it.
Where everything goes
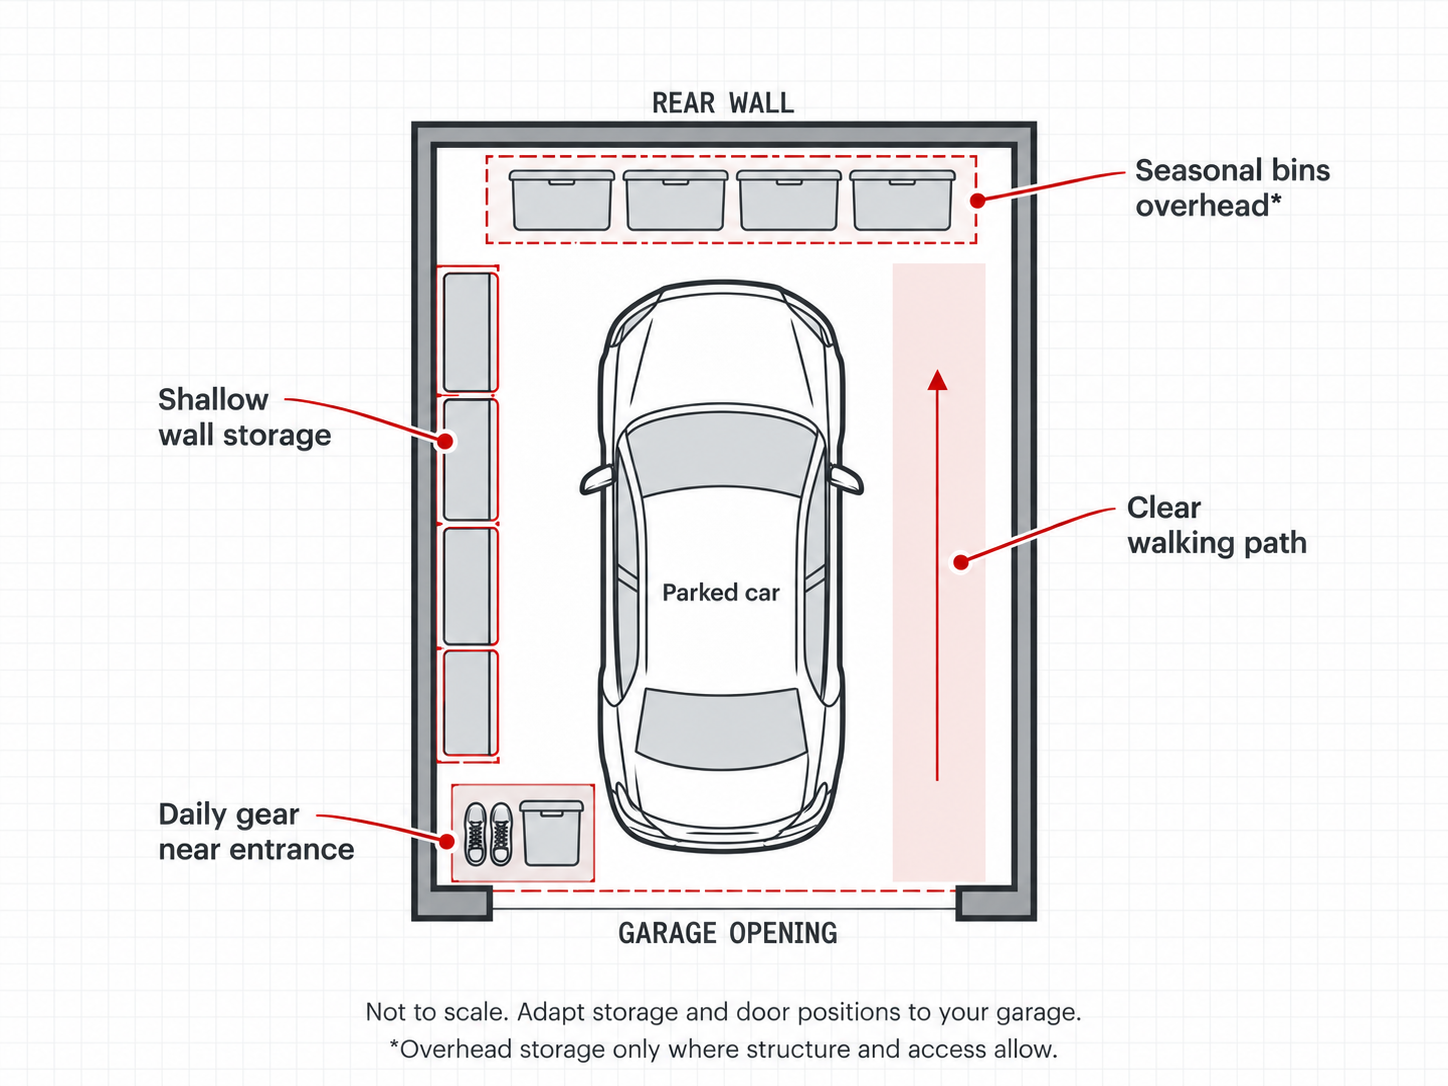
- A suitable side wall: Use shallow wall-mounted shelving, custom garage cabinets, or slatwall storage systems outside the vehicle’s door swing. Choose storage depth based on the available space with the car parked.
- Near the entrance you use most: Group frequently used items, such as dog-walking supplies, small garden tools, or bike helmets, where you can retrieve them without walking around the car. Keep the doorway clear.
- A suitable overhead area: Reserve it for manageable seasonal bins you rarely need. Placement must account for the garage door, supporting structure, and a practical way to retrieve items.
Conceptual top-down layout
This text diagram illustrates the arrangement only. It is not to scale or a measured installation plan. Door positions and storage locations must be adapted to your garage.
What you gain and give up
You gain a straightforward parking routine and accessible everyday storage. You give up the depth of larger cabinets and the convenience of a built-in workbench. If occasional DIY projects matter, a portable workbench is a better fit than filling the remaining wall with a fixed bench.
Choose this layout if: Daily car parking matters more than leaving a project set up.
Layout 2: Compact workshop with a defined reset position
This workshop layout suits light project and hobby work, gear maintenance, and occasional repairs. Its defining feature is not a large bench, but a work area that returns to a clear stored position. A multi-use garage needs both project mode and car mode.
Where everything goes
- One suitable wall: Create a tool storage wall with pegboard or wall hooks beside the work surface. Place smaller supplies in nearby drawers, bins, or cabinets so projects stay in one area.
- Below or beside the tools: Install a compatible fold-away workbench where it can close fully outside the car’s access area. Alternatively, designate a wall-side parking spot for a mobile bench.
- The open bay during projects: Move the vehicle out when a task needs more working room. A mobile surface can roll into the bay, then return to its marked storage spot before parking.
- A nearby shelf or cabinet: Reserve space for unfinished work and loose tools. Use rolling tool storage or a portable toolbox for compact tool storage and organization. Without this holding area, the bench may fold away while the project still occupies the floor.
Conceptual top-down layout
This text diagram shows the stored arrangement with the car inside. It is not to scale or a measured installation plan.
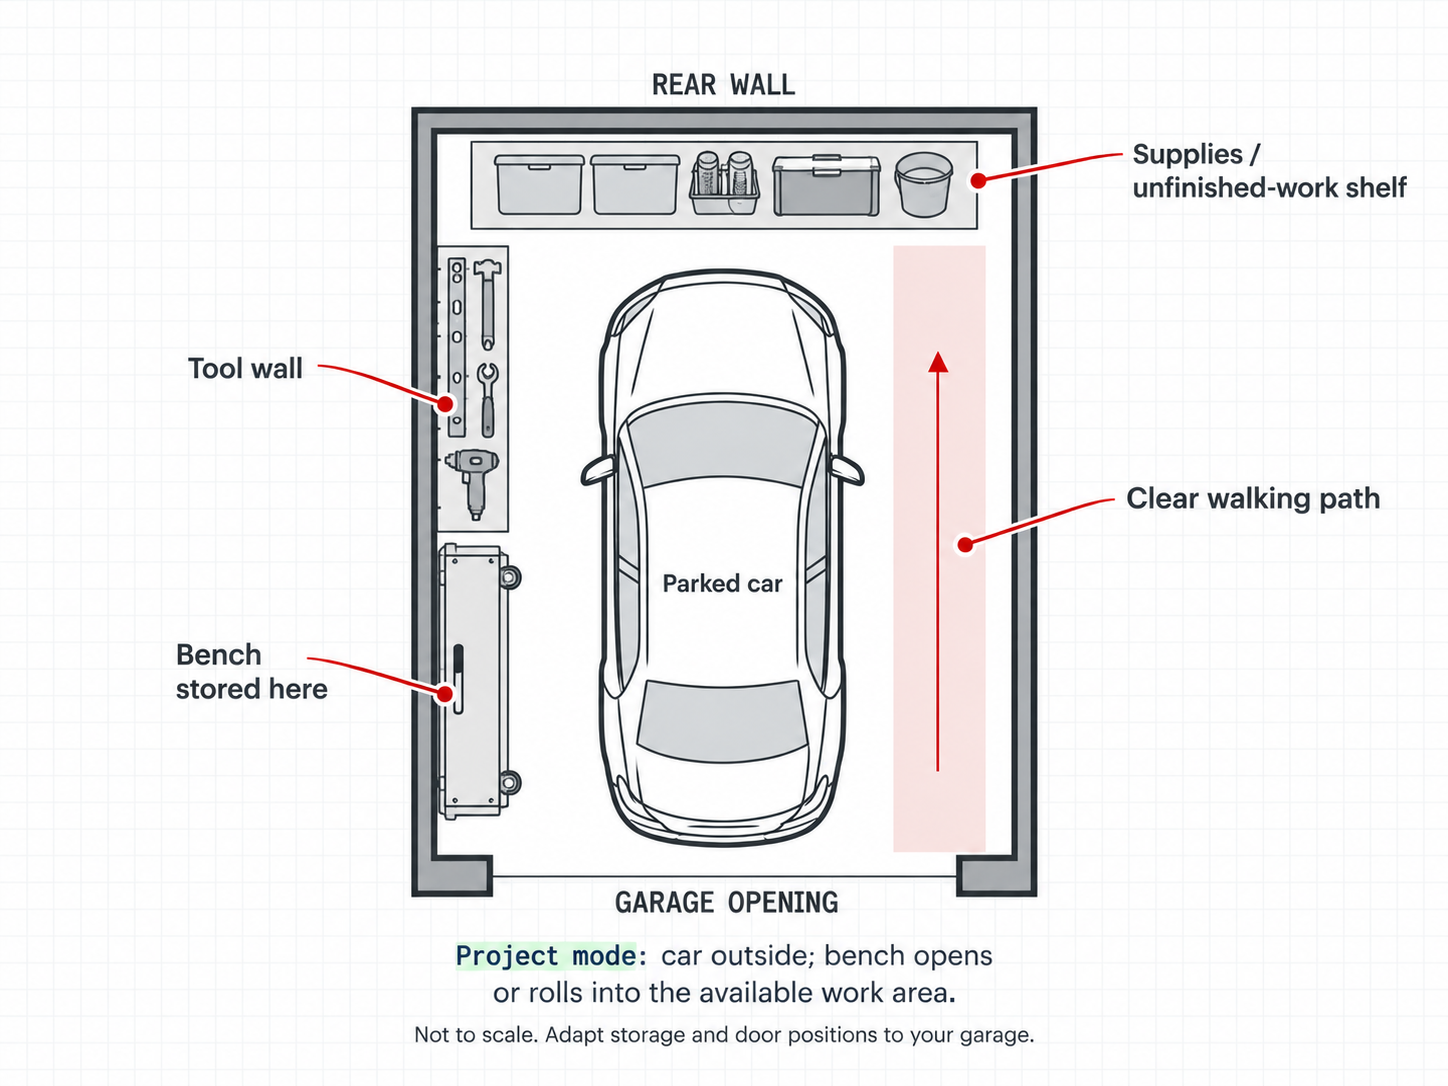
Fold-away or mobile?
A fold-away bench works best when your tasks can stay beside the tool wall and you want to reclaim its floor area afterward. A mobile bench suits projects that benefit from access on more than one side, but it still needs a permanent storage footprint. Confirm that its wheels can be secured during use.
For a closer look at bench and cabinet placement, read our guide to planning a garage workbench and cabinet wall.
Plan for your type of workshop
A home mechanic garage layout needs accessible tools and room around the vehicle. A single-car garage woodshop also needs material storage, outfeed support, and dust collection. Do not assume a full-featured woodworking shop will fit alongside a parked car.
Before adding power tools, review lighting, ventilation, and electrical outlets and capacity with qualified professionals where needed. Include secure storage for sharp equipment, especially where children have access.
What you gain and give up
You gain a useful project area without dedicating the entire garage to a workshop. You give up the ability to leave larger projects spread out while parking inside. This layout works only if returning the bench, tools, and unfinished work to storage is part of the routine.
Choose this layout if: You want space for occasional projects and are comfortable moving the car and resetting the area afterward.
Layout 3: Outdoor-gear storage organized by activity
This arrangement suits households whose garage is the starting point for bike rides, ski days, and camping trips. Prioritize equipment you use often, rather than giving every item equally convenient space.
Where everything goes
- An accessible wall near the garage opening: Place compatible bike racks where you can load and remove bikes without squeezing past the car. Account for the bike’s stored projection and the room needed to handle it.
- A separate reachable wall section: Group skis and poles together. Keep the current season’s gear accessible rather than behind bikes or bins.
- Beside each activity zone: Use baskets, hooks, or corner shelving for helmets, gloves, pumps, and other accessories. Keep small items with the equipment they support without crowding the parking zone.
- A rear-wall shelf or suitable overhead area: Store less-used camping equipment separately in labeled clear storage bins. Keep heavier or awkward items where they can be handled comfortably rather than assuming everything belongs overhead.
Conceptual top-down layout
This text diagram illustrates activity zones only. It is not to scale or a measured installation plan.
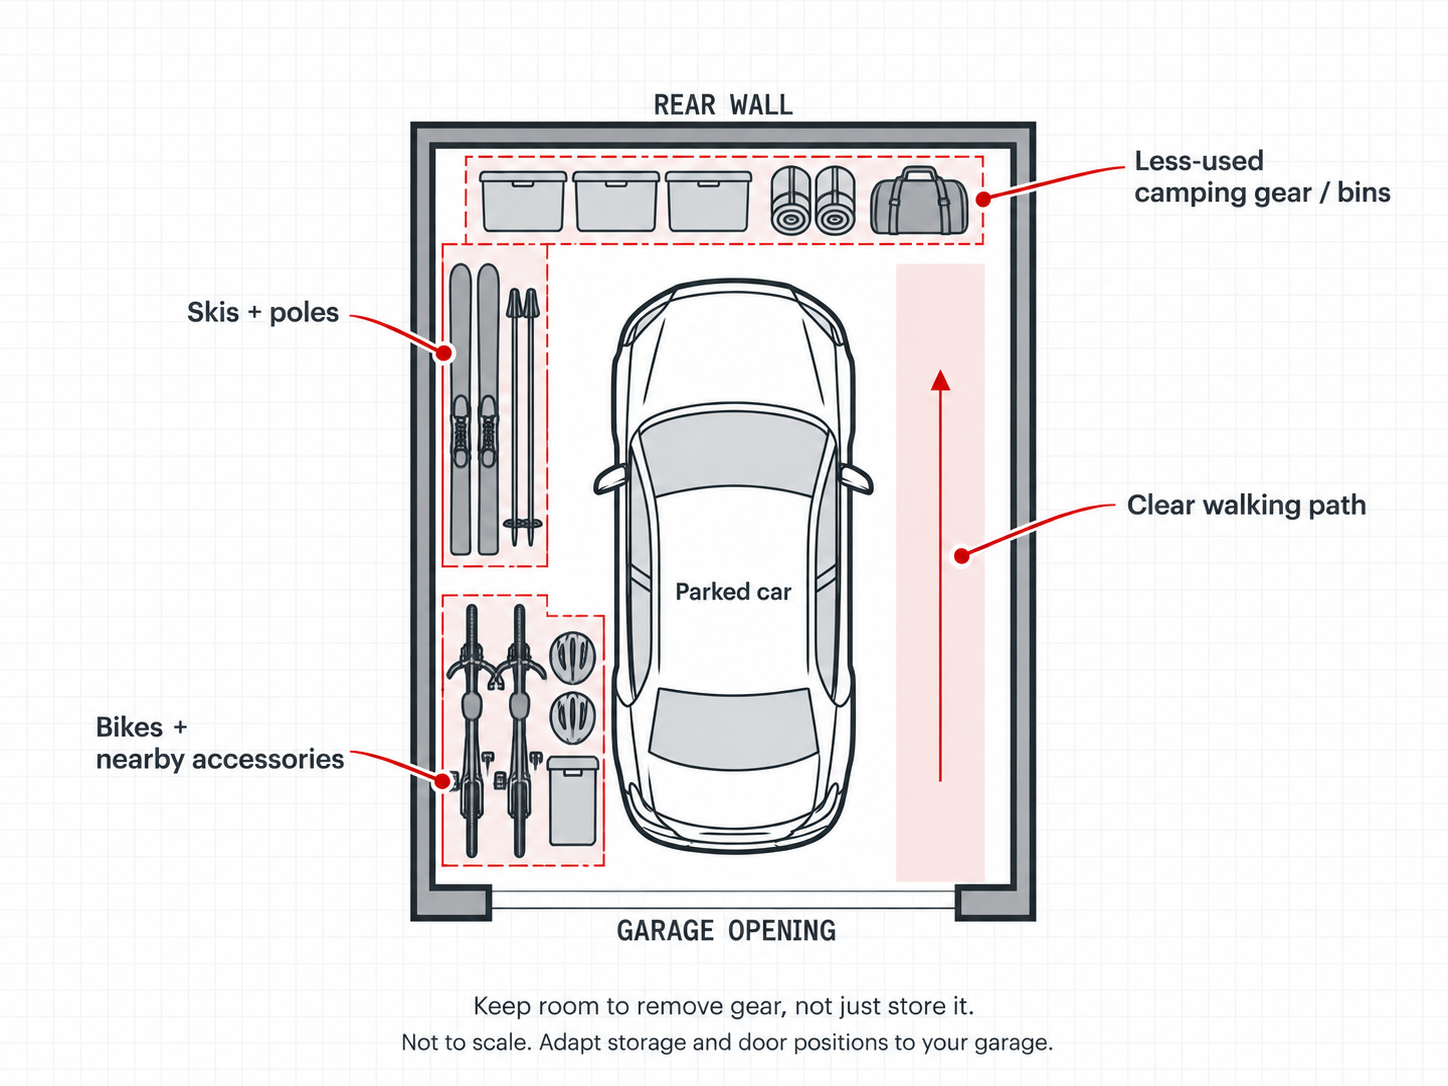
What you gain and give up
You gain faster packing and fewer loose accessories scattered around the garage. You give up some enclosed cabinet space or workbench room to keep bulky gear reachable. Bike storage can be the deciding constraint: if you cannot comfortably remove a bike with the vehicle parked, relocate the rack or accept that the car must move first.
Choose this layout if: Convenient access to bikes, skis, and outdoor equipment matters more than a permanent project area.
Measure and map your space
Start with decluttering: inventory your belongings and sort unwanted items into donate, sell, and trash piles. Assign each remaining category a storage zone before buying components.
Check the proposed arrangement with your vehicle parked normally. Mark the vehicle footprint and storage boundaries with floor tape suitable for your garage flooring. Test door-swing clearance on both sides, including the passenger door, and check trunk or hatch access. Walk to the house entrance and retrieve your largest frequently used item. Test movement, not just whether everything fits while stationary.
Keep doorways, controls, and access routes clear. Follow product instructions and have mounting conditions assessed before installation, especially for overhead racks. A rack’s stated capacity does not by itself establish what your garage structure can support.
If you need elements from more than one layout, choose a primary use first. For example, a parking-first garage can include a small tool area, but adding a bench, multiple bikes, and deep cabinets to the same wall can undo the benefit of shallow storage.