A polished garage rendering can look spacious until two vehicles, open cabinet doors, bikes, and people carrying groceries enter the picture. This guide explains how to review your 3D garage design before installation by testing the drawing against real measurements and everyday routines.
A useful review works like a 3D 'walk through' of parking, movement, storage, and work areas. The steps below will help you identify conflicts, request practical revisions, and discuss a layout that fits how your household uses the garage.
Start with function, not finishes
Begin by asking whether the proposed layout supports the activities that happen in your garage. Cabinet colors, hardware, flooring options, and epoxy finishes matter, but none can correct a cabinet that blocks a car door or a bike rack you cannot reach when you need it.
Consider your requirements for parking, carrying groceries into the house, reaching trash bins, loading camping equipment, returning wet outdoor gear, and working on projects. Use those activities to set priorities before choosing finishes.
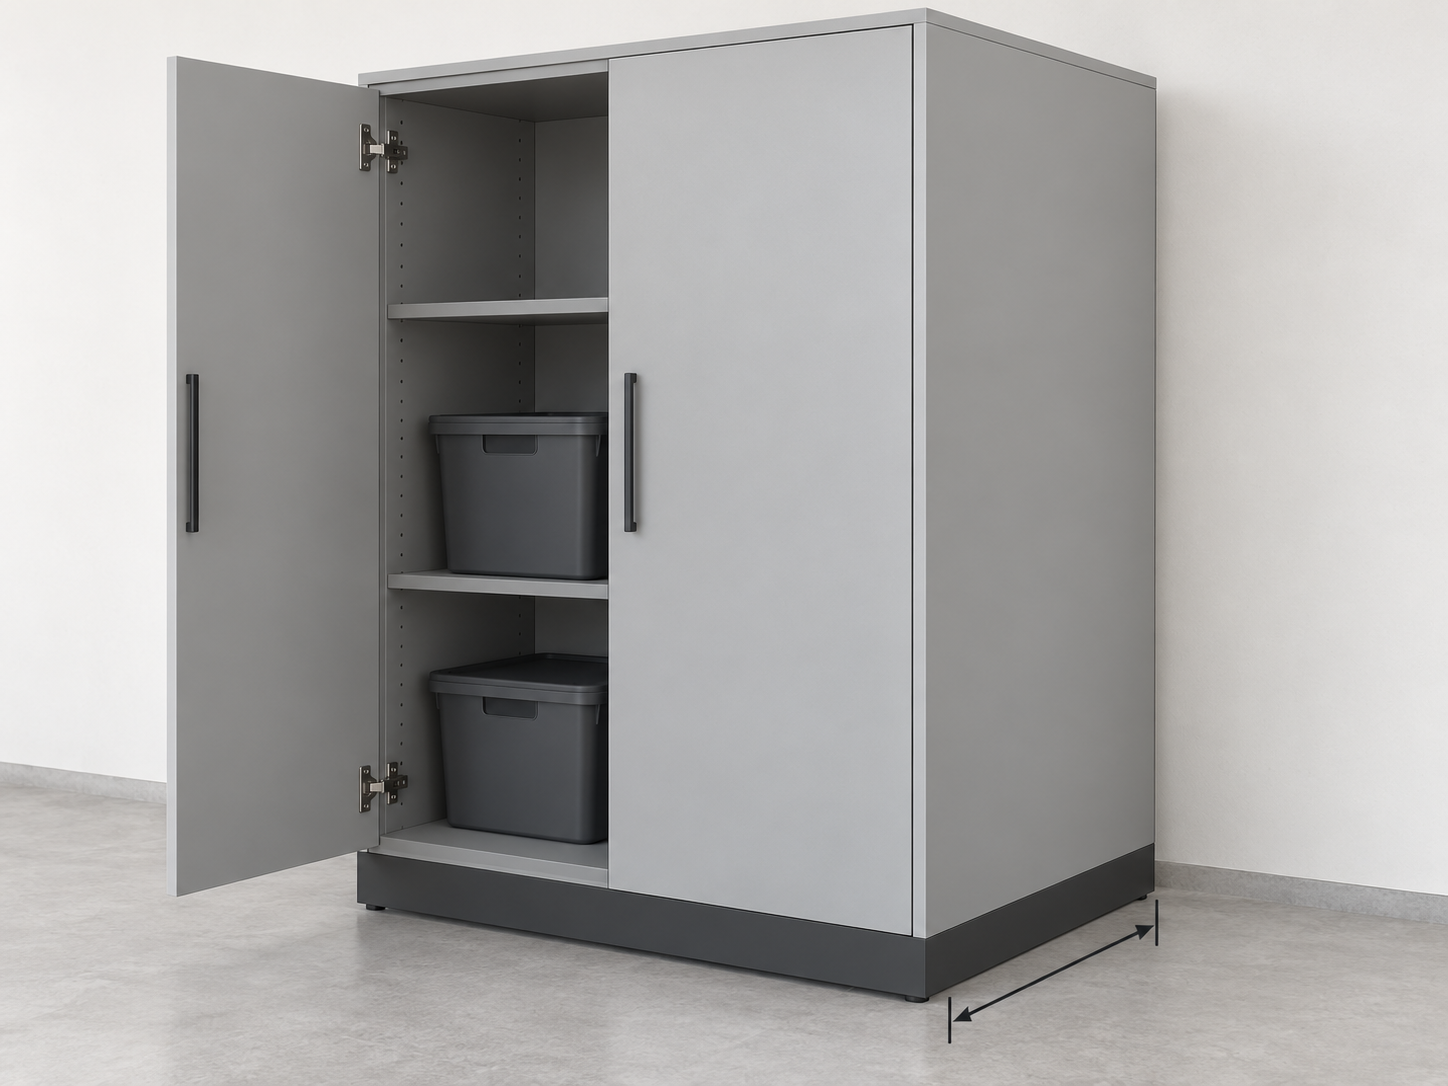
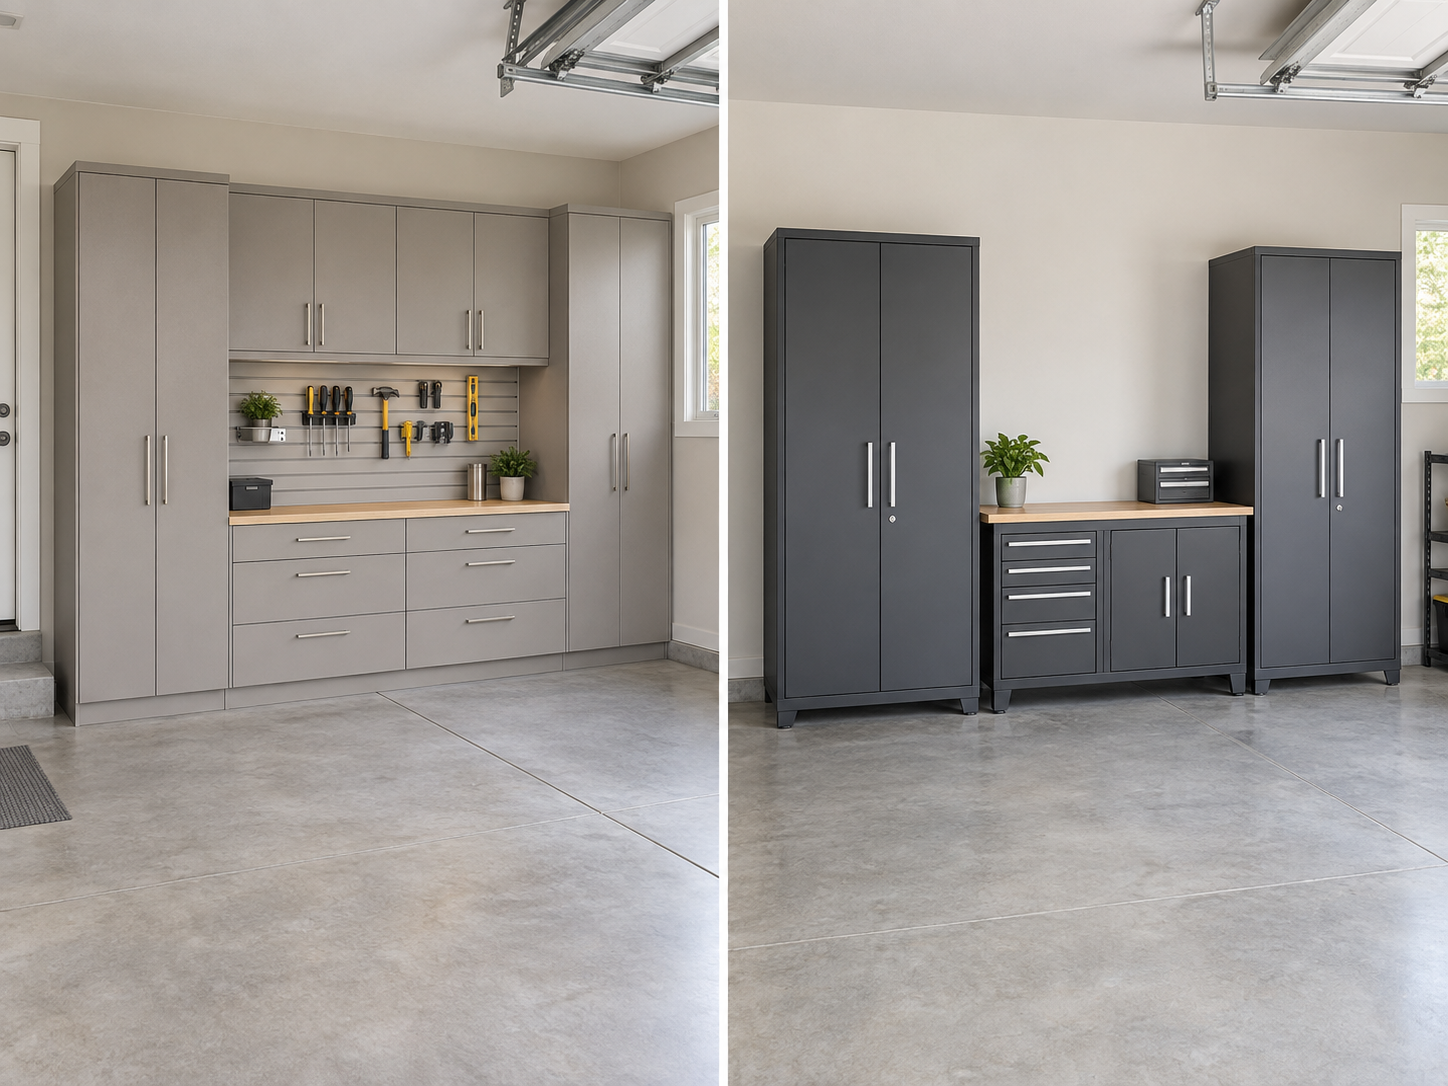
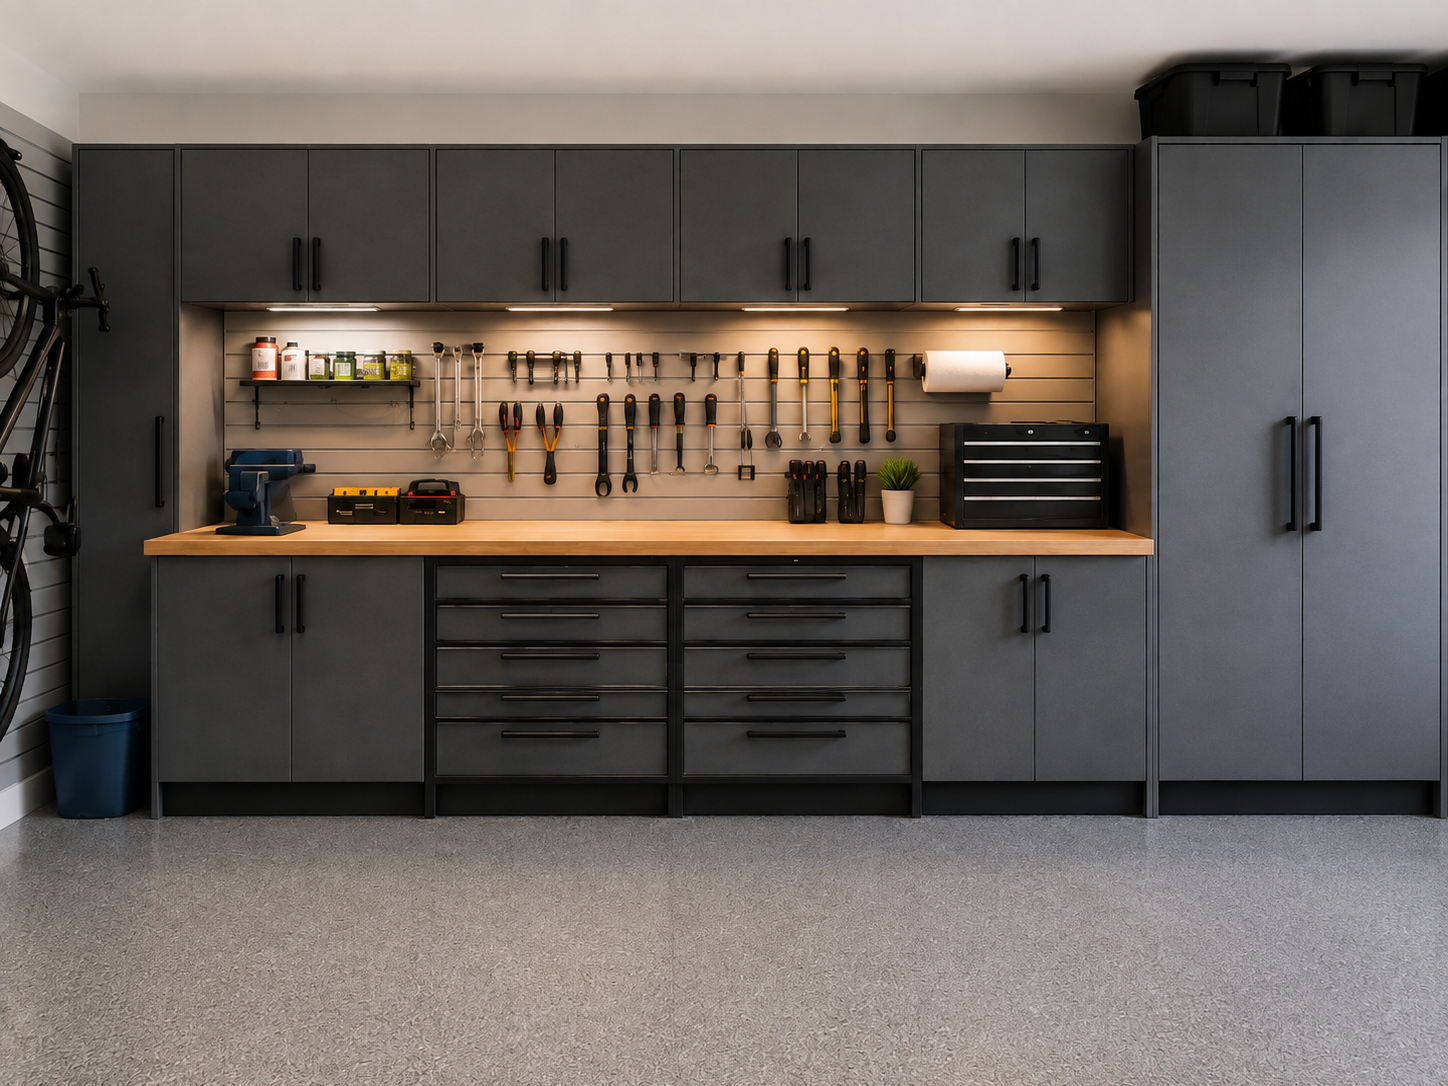
Ask your designer to help you select robust materials for storage cabinets and workbenches. A durable material should suit the items you store, the projects you do, and the care you can provide.
Gather the inputs before you review
Bring your garage's dimensions, vehicle measurements, photos of each wall, and a list of everything that must remain accessible. Ask the designer which measurements they will confirm onsite.
Document vehicle accessories that alter the normal footprint, such as trailer hitches, roof boxes, bike carriers, extended mirrors, and rear-mounted spare tires. Include the dimensions of unusually large stored items, too. Generic vehicle and equipment icons may not represent what you own.
Include other household decision-makers when possible. Shared review can reveal different expectations for parking, hobbies, children’s equipment, seasonal storage, and the route into the house.
Check the rendering against the actual garage
Compare the drawing with the garage’s walls, corners, doors, windows, steps, curbs, columns, outlets, switches, vents, plumbing, and utility equipment. Note changes in floor or ceiling height.
Look overhead as well as around the walls. Garage-door tracks, openers, lights, attic access panels, beams, and ductwork can affect the placement of tall cabinets and overhead racks.
Ask which site measurements were used to create the plan: an in-home measurement, homeowner-provided dimensions, construction plans, or estimates. Confirm the proposed dimensions of cabinets, shelves, racks, and work surfaces rather than judging their size from appearance.
Check that doors and windows can operate and that utility equipment remains accessible. If storage sits near an electrical panel, water heater, or other fixed equipment, ask the designer what access must remain clear.
Confirm what the drawing shows
Ask whether you are viewing a scaled floorplan, a perspective rendering, or both. A floorplan helps you compare measured distances, while 3D models help communicate appearance and height. Camera angles can make aisles look wider or cabinets look shallower, so request dimensions where fit is uncertain.
If the designer’s garage design software supports them, request an overall view from above and a ground floor view at eye level. These complementary views can help you understand storage placement and everyday access.
Ask your designer which site measurements, product specifications, and installation conditions still need confirmation. A rendering alone does not verify structural capacity or compliance with applicable requirements.
Walk through parking, doors, drawers, and daily movement
Review a floorplan with cars in it, using the dimensions and usual position of every regularly parked vehicle. Then test how the garage works when doors open, equipment comes out, and people move through it.
Use painter’s tape to mark proposed cabinet depths and workbench edges in the actual garage. Cardboard boxes can help represent cabinet volume. With the vehicles parked, open their doors and loading areas and walk through the marked layout.
Check the operating space for:
- Driver and passenger doors, including rear doors used by children or guests
- Trunk lids, liftgates, tailgates, and truck-bed access
- Charging ports and roof-mounted equipment
- Cabinet doors, drawers, and neighboring handles
- The entry to the house and other access doors
Ask your designer to demonstrate door and drawer clearance using dimensions, additional views, or a physical mock-up. Corner cabinets and neighboring drawer banks deserve particular attention because components may work separately but interfere when opened together.
Trace the route from each vehicle to the house while carrying grocery bags, a backpack, a cooler, or a camping bin. Continue to the freezer, trash bins, tools, and bike storage. Look for awkward turns or places where an open door blocks the route.
At the workbench, consider standing or seated space, knee room, stool placement, task lighting, and tool movement. Check whether you can open drawers and step back from a project with a vehicle parked nearby.
Try the scenarios that matter to your household
- Both vehicles parked overnight, with a usable route into the house.
- Bikes being removed and loaded for a ride.
- A liftgate open while groceries or camping bins are unloaded.
- A wet-weather arrival with skis, boots, coats, or sports equipment.
- A workbench project underway while a vehicle remains parked.
Decide which activities must work without moving a vehicle and which can reasonably require an adjustment. If taking out both bikes while both cars are parked is important, make that an explicit design requirement. Not every garage can accommodate every activity at once.
Collaborating with family members or contractors during these checks helps reveal different constraints. One person can stand where a cabinet would project while another tests a door or walks past with equipment.
Review access to bikes, gear, and tools
To optimize storage, divide items into daily, weekly, seasonal, and occasional-use groups. Keep frequently used gear near its point of use, and reserve less convenient storage for items you retrieve less often.
Weekly equipment might belong in nearby cabinets, shelves, slatwall accessories, or pegboards. Seasonal bins may suit overhead racks if there is a practical way to retrieve them.
Test bike storage as a complete action rather than a wall placement. Consider how you will remove the bike, rotate or lower it as required by the rack, carry it out, and return it after a ride.
Ask these questions about your storage categories:
- Does bike retrieval meet the parking requirements we agreed on?
- Can skis be reached without unloading unrelated bins?
- Can a cooler or tent be retrieved without searching several storage areas?
- Can lawn equipment pass through the garage without contacting a car?
- Are sports bags close to the route used when leaving the house?
- Are commonly used tools easy to retrieve and return?
High storage also needs a realistic access method. Discuss who will retrieve each bin, where a ladder would stand, and whether a vehicle would need to move. Avoid assigning heavy or awkward items to locations that make retrieval difficult, and confirm product-specific weight limits and installation requirements separately.
Assign each zone a clear job
Name zones for arrival items, tools, outdoor equipment, vehicle supplies, and long-term storage on the plan. List what each must hold so you can judge whether the proposed storage matches your belongings.
An arrival zone might hold shoes, backpacks, and reusable bags near the house entry. A vehicle-care zone might group cleaning supplies and automotive tools separately from children’s gear.
Leave room for reasonable changes in equipment. Adjustable shelves and movable accessories can accommodate new bins or sports gear, but the zone still needs to be accessible under your agreed parking arrangements.
Turn concerns into clear revision requests
Request revisions before approving the design, especially when cabinet depth, bike placement, and workbench access affect one another. Instead of “make it feel more open” or “add more storage,” describe the problem and what the revised layout should allow you to do.
Examples include:
- “We need to remove both bikes with the SUV parked. Can you revise their placement?”
- “Demonstrate the clearance for the workbench drawers beside the sedan.”
- “Confirm the cabinet depth beside the passenger door.”
- “Move daily sports bags closer to the house entry.”
- “Check the liftgate clearance below the proposed overhead rack.”
- “Keep the electrical panel accessible and account for applicable access requirements.”
- “Add dimensions between the cabinet face and the parked vehicle.”
- “Identify where the ladder will stand when we retrieve seasonal bins.”
Ask the designer to record agreed changes and unresolved questions in a marked plan or revision summary. Ask for copies so you can save and share your designs, using a date or version number to keep everyone reviewing the same layout.
To see how a consultation becomes a coordinated layout, explore our garage storage design services. Bring your review questions to the designer so revisions address how you actually park, store equipment, and use the space.
Compare the revised drawing with your concern list to check that a change in one area has not introduced a conflict elsewhere.
Questions to ask your designer
- Which measurements and fixed obstructions are reflected in this design?
- How can we check the clearances that are difficult to judge in this view?
- Which of our access priorities does this layout meet, and where are there trade-offs?
- Which dimensions, product specifications, or site conditions still need confirmation?
- How will the agreed revisions be documented before approval?
Design-approval checklist
Before approving the layout, confirm that:
- The plan reflects the garage’s measurements, fixed features, and proposed product dimensions.
- Parking, door operation, walking routes, and workbench space have been checked together.
- Daily and seasonal storage can be accessed in the ways your household has agreed on.
- Relevant product limits and installation conditions have been reviewed, with unresolved technical questions directed to the appropriate professional.
- The current version includes your requested revisions and records any remaining decisions.
Approve the plan with confidence
A useful 3D garage design helps you understand how parking, storage, and everyday movement will work together. You do not need to conduct a technical inspection yourself. Bring specific questions, explain your household’s priorities, and ask the designer to clarify anything the drawing leaves uncertain.
Once those practical decisions are settled, you can choose finishes with a clearer sense of how the garage will feel and function.
A careful review starts with better questions, not a perfect understanding of every technical detail. If you would like professional guidance, you can request a free in-home consultation and custom 3D design from Perfect Garage Storage before committing to a layout.