A garage wall can look spacious when empty yet become unusable once vehicles, tools, ski equipment, and cabinet doors compete for clearance. For homeowners researching How to Plan a Garage Workbench and Cabinet Wall in Salt Lake, the solution begins with inventory, measured clearances, defined activity zones, and materials suited to Utah’s seasonal conditions.
The following process applies garage organization principles used in custom garage design throughout the Salt Lake City metro and the Wasatch Front. It explains how to coordinate custom-designed garage systems, work surfaces, cabinets, lighting, slatwall, and garage hooks without sacrificing parking space.
Start With How Your Salt Lake City Garage Is Used
Inventory should precede every decision about garage cabinets, garage shelving, or workbench dimensions because stored objects determine the required capacity and configuration. Separate belongings into daily-access items, seasonal gear, bulk supplies, project materials, and automotive tools, then record the largest and heaviest objects in each category.
Fully-customized garage designs with 3D renderings can convert this inventory into measurable cabinet, shelf, and clearance requirements. Custom garage cabinets are most effective when designed around actual belongings rather than assumptions about what a typical garage contains.
Create Practical Storage and Work Zones
Place tool storage beside the workbench, sports gear storage near the primary exit, and infrequently used containers above head height. Dedicated bike storage, ski storage, and camping gear storage prevent large equipment from migrating into vehicle paths or onto the project surface.
A car hobbyist may need more drawer capacity and floor access, while an outdoor-focused family may benefit from hooks, baskets, and tall equipment bays. A gardening station can work well near the garage entry, with room for hand tools, potting supplies, boots, and cleanup materials. Vehicle positions and door swings should define the boundaries between these zones.
Account for Salt Lake City Seasons
Salt Lake City garages must accommodate wet boots, snow-removal tools, ski equipment, bicycles, and summer recreation gear across the year, and NOAA’s climate summary reports 58.1 inches of average annual snowfall for Salt Lake City. Enclosed cabinets protect household supplies from dust, incidental moisture, and temperature fluctuations, while ventilated open storage helps damp gear dry.
Warranty coverage also indicates which components manufacturers expect to withstand regular use. Because lifetime/7-year warranties can apply to different products or parts, compare the written coverage rather than treating every warranty term as equivalent.
Measure the Wall and Map Garage Constraints
Measure total wall width, ceiling height, baseboard projection, and the positions of windows, switches, electrical outlets, wall studs, and utility equipment. Record garage door tracks at their lowest and widest points because overhead mechanisms can conflict with tall cabinets and raised doors.
A complete wall sketch should show cabinet depth, workbench projection, vehicle clearance, and the route to the interior entry. Selecting separate components before creating this elevation often produces gaps, inaccessible corners, or a narrowed parking bay.
Protect Clearance Around Cars and Doors
Park the household’s largest vehicle before testing the layout with painter’s tape on the floor and wall. Open vehicle doors, cabinet doors, and drawers fully, then include the space occupied by a stool or person working at the bench.
A workable aisle must support routine movement while carrying groceries, tools, or outdoor equipment. Clearance that appears adequate on paper may fail when a drawer and vehicle door occupy the same zone.
Work Around Utilities and Building Features
Preserve service access around water heaters, HVAC equipment, plumbing cleanouts, and garage-door controls. Electrical panel clearance is especially important: Utah residential electrical-panel working space requires 36 inches of depth, 30 inches of width or the equipment width, whichever is greater, and 6 feet 6 inches of height, so cabinets cannot turn that required space into storage.
Permit requirements may apply when relocating circuits, changing structural framing, or modifying certain utilities. The Greater Salt Lake MSD permit guidance identifies expanding a structure, altering interior walls or rooms, and adding or modifying plumbing, mechanical, or electrical systems as work requiring a building permit, so confirm requirements with the appropriate local authority before construction begins.
Choose the Right Workbench as the Wall Anchor
The workbench establishes the wall’s working height, counter depth, lighting position, and lower-cabinet arrangement. Choose its dimensions according to whether the main task involves standing assembly, detailed repair, seated work, bicycle maintenance, or automotive projects.
A deeper counter supports larger projects but consumes vehicle space, so depth must be evaluated with a parked car rather than against an empty bay. Laminated wood, hardwood, steel, and replaceable protective tops serve different needs for impact resistance, cleanup, and precision work.
Set Workbench Dimensions for the User
Standing workbenches commonly measure about 34 to 38 inches high, although elbow height and task type provide a better final reference. Lower surfaces can improve leverage for assembly, while higher surfaces reduce bending during close repair work.
Where wall length permits, leave landing space beside the main surface for long boards, bike parts, and tool cases. This buffer prevents an active project from blocking drawers or spreading across unrelated storage zones.
Plan Power, Lighting, and Task Access
Locate sufficient outlets above the counter for chargers and benchtop tools, with electrical work completed under applicable codes. Reliance on overloaded extension cords indicates that the power plan does not match the intended workload.
Focused task lighting should illuminate the work from the front or both sides. A single ceiling fixture behind the user casts shadows across cutting lines, hardware, and repair areas.
Design a Cabinet Wall That Matches What You Store
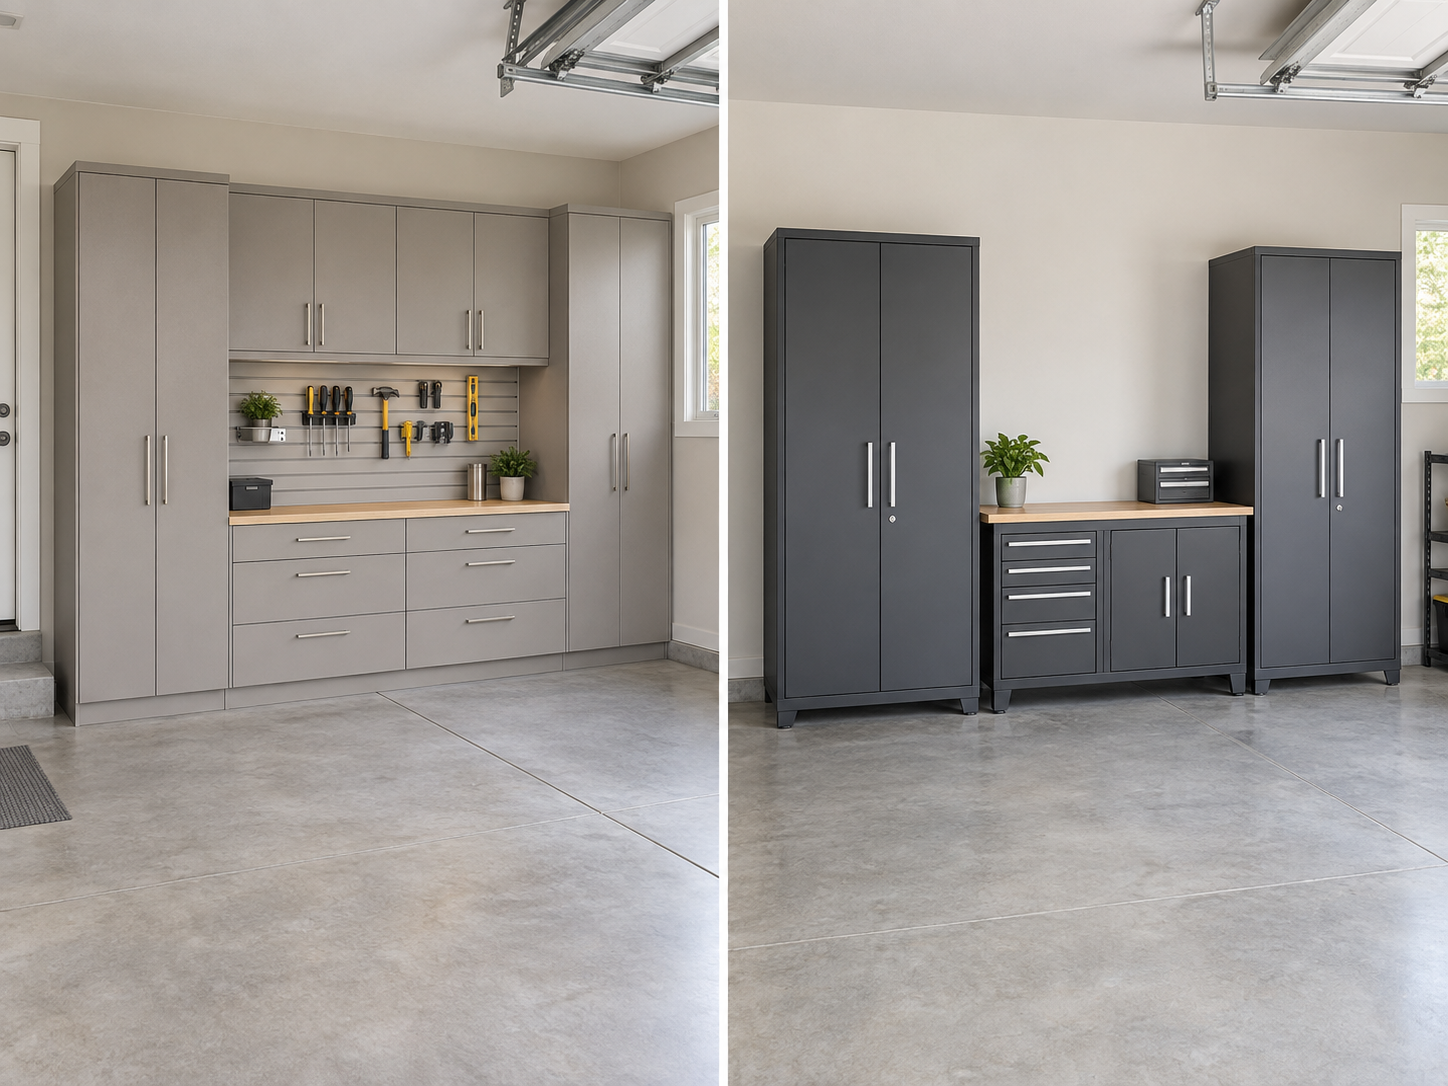
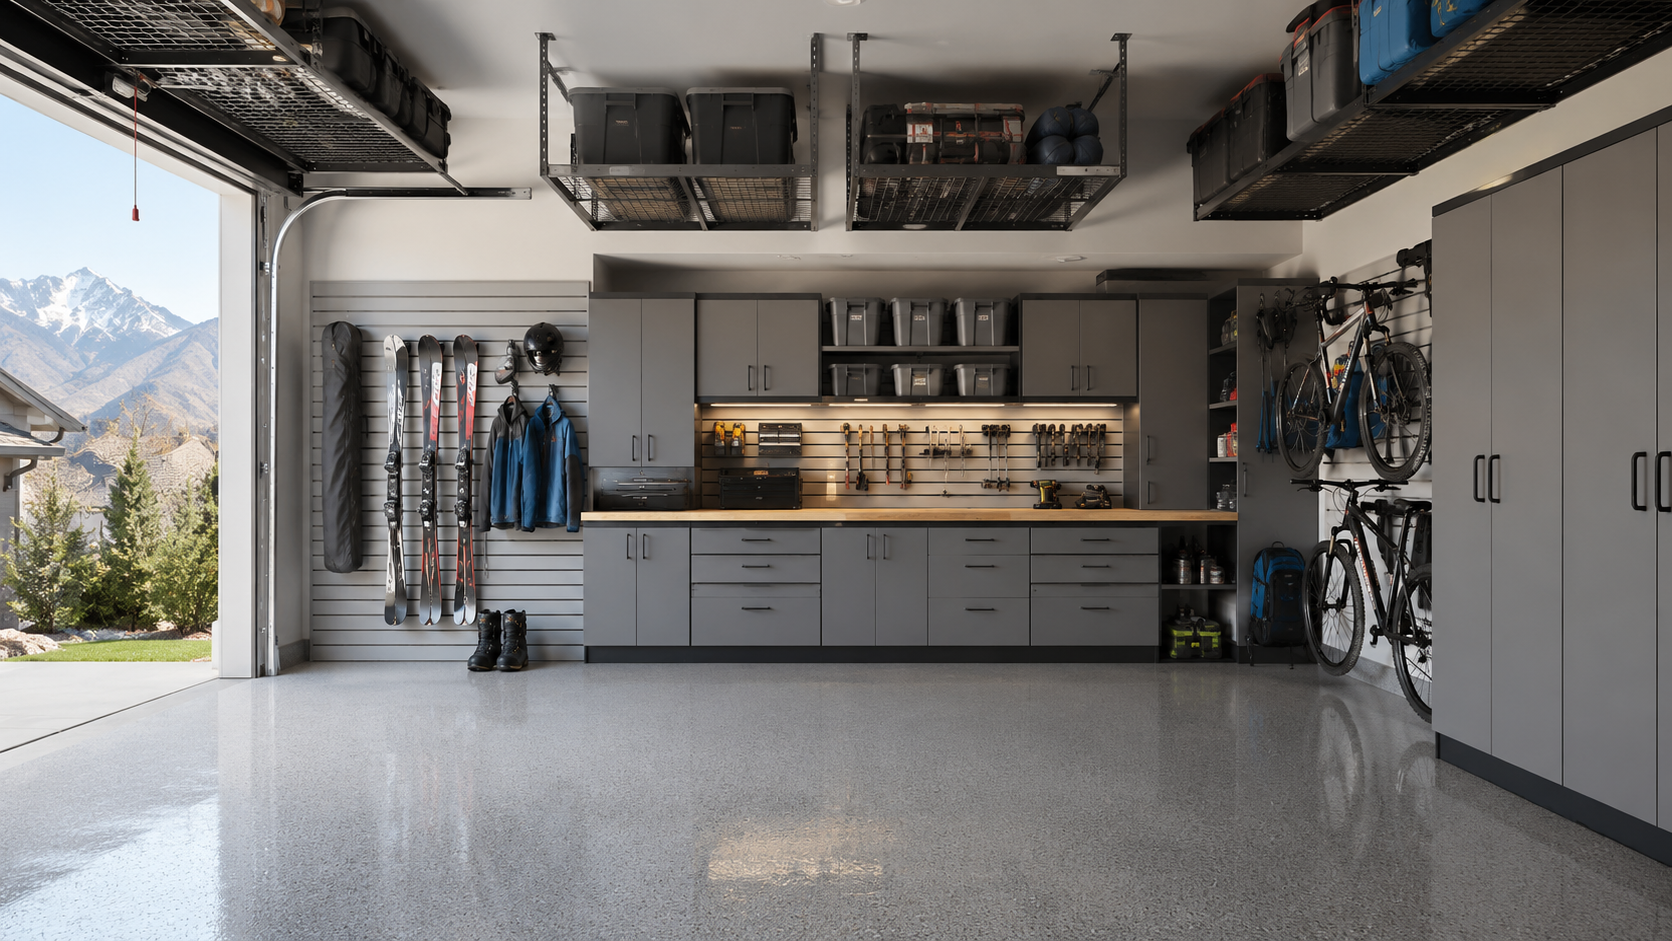
A layered cabinet wall combines base cabinets beneath the counter, wall cabinets above it, and tall cabinets at one or both ends. Heavy equipment belongs low, frequently used tools belong between knee and shoulder height, and irregular objects benefit from adjustable shelving.
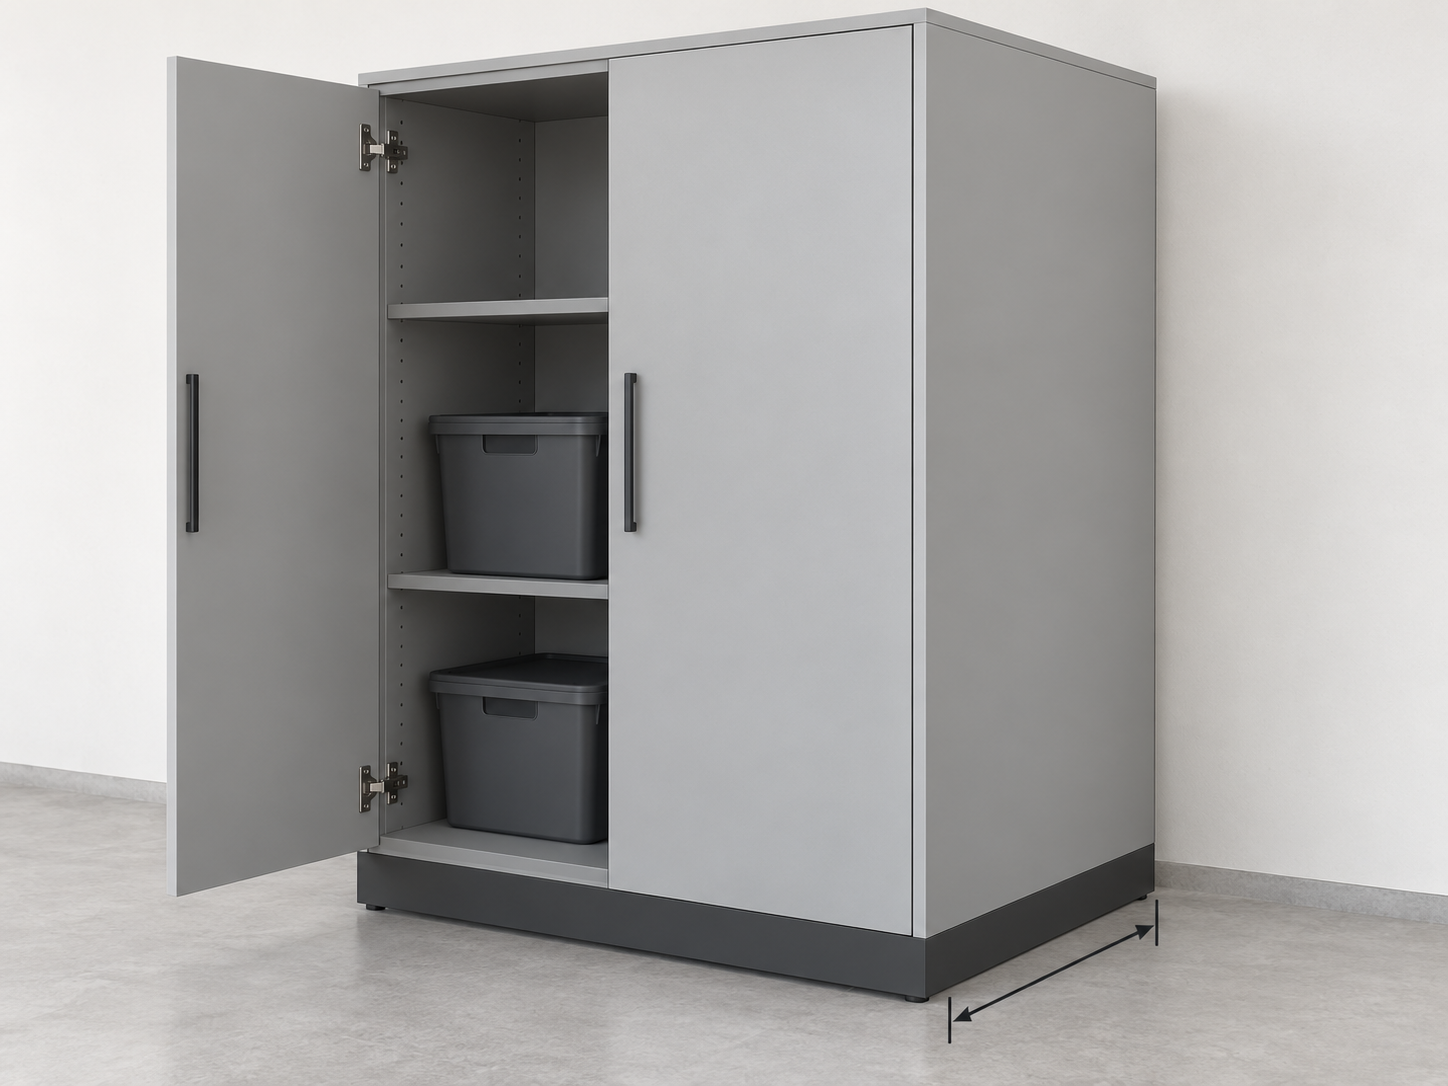
Cabinet depth should reflect both stored objects and parking constraints. Shallow cabinets can preserve an aisle, while deeper units may be reserved for locations beyond vehicle doors.
Perfect Garage Storage Solutions states that it provides custom 3D drawings within 1–2 business days after consultation. This 1-2 day design turnaround can help homeowners review a proposed cabinet wall promptly, but speed should not replace verification of dimensions, hinges, outlets, and door swings.
Use Closed Cabinets for Visual Order
Closed cabinets contain chemicals, hand tools, hobby supplies, and household overflow while reducing visual clutter. Durable finishes, full-extension drawer hardware, and serviceable hinges matter because garage cabinetry experiences dust, vibration, and frequent handling.
Assign each cabinet a category rather than filling empty compartments without a plan. Category-based storage makes missing tools visible and prevents the workbench from becoming permanent overflow space.
Add Open Storage Only Where It Helps
Slatwall, garage hooks, pegboard, and open shelves suit items that need immediate access, including helmets, cords, hand tools, and yard equipment. Pegboard is best reserved for lightweight, frequently used tools, while open storage loses value when every object remains visible and exposed to dust.
Move bulk storage and seasonal bins to properly rated overhead storage where ceiling and garage-door conditions permit. Keeping large containers off the cabinet wall preserves the workbench for projects.
Build Safety and Durability Into the Layout
Cabinets, shelves, slatwall systems, and overhead racks must be anchored into suitable framing with manufacturer-approved fasteners. Each component’s load rating should govern what it holds because shelf dimensions alone do not establish structural capacity.
Store paint, pesticides, fuels, and automotive fluids away from ignition sources and beyond children’s reach. Product labels and local fire-safety rules should guide storage because enclosed cabinetry does not make incompatible chemicals safe together.
Keep the Work Area Safe
Garage storage must not block exits, electrical panels, garage-door controls, or fire-safety equipment. Lockable cabinets provide additional control when the garage contains sharp tools, chemicals, batteries, or hazardous fluids.
Heavy objects should remain below shoulder height whenever practical. Lower placement reduces both lifting strain and the consequences of a falling item.
Plan for Garage Conditions
Snowmelt and wet equipment can damage moisture-sensitive boards where cabinets contact the floor. Wall-mounted units, corrosion-resistant hardware, and easy-clean surfaces reduce exposure in these vulnerable areas.
Powder-coated steel is commonly selected for shelving and racks because it can offer good abrasion and corrosion resistance, although results depend on coating chemistry, surface preparation, and exposure to moisture, road salt, and impact, as outlined in this powder-coating ASTM testing guide. Durable laminate can provide an orderly cabinet finish when edges, joints, and installation details limit moisture intrusion.
Where a full garage upgrade includes garage flooring or epoxy flooring, plan cabinet placement, floor preparation, and installation order together. This helps avoid damaging a finished floor or creating hard-to-clean gaps beneath fixed storage.
Avoid Common Garage Cabinet and Shelving Mistakes
Buying standard-size cabinets before measuring obstructions and vehicle clearance often creates expensive compromises during installation. Another common failure is filling every available wall section while neglecting lighting, vertical storage, utilities, and future equipment.
The workbench should not serve as the household’s default landing zone. Nearby drawers, hooks, recycling space, and defined cabinet categories intercept clutter before it consumes the project surface.
Avoid a One-Size-Fits-All Layout
A growing family, car hobbyist, and skiing household require different proportions of cabinets, drawers, hooks, and open shelving. A 3D rendering can expose collisions between vehicles, doors, drawers, tracks, and tall storage before materials reach the garage.
The rendering should show objects at realistic scale rather than presenting cabinetry alone. Including cars, bicycles, bins, and people reveals whether the proposed wall functions under normal use.
Avoid Underplanning for Future Needs
Leave some cabinet capacity open and select adjustable shelf positions for changing hobbies, children’s equipment, and new tools. Filling the system to capacity on installation day leaves no room for normal household growth.
Modular hooks and movable accessories suit gear categories that change frequently. Fixed cabinetry should support stable storage needs, while adjustable elements absorb seasonal variation.
Turn the Plan Into a Workable Garage Wall
Finalize the measured elevation, product list, electrical plan, hardware specifications, and installation sequence before purchasing materials. Install fixed cabinets and the workbench first, then add slatwall, adjustable accessories, labels, and smaller storage components.
Professional installation can reduce anchoring and alignment errors in complex layouts, although installers still need accurate information about vehicles and stored items. Review the finished wall after several weeks because actual use exposes inconvenient placements that drawings may not predict.
Use a Simple Final Planning Checklist
Confirm these details before installation:
- Wall, ceiling, baseboard, and obstruction measurements
- Parking, pedestrian, drawer, and door clearance
- Utility access and electrical requirements
- Shelf, cabinet, hook, and rack load ratings
- Storage categories and seasonal capacity
- Workbench lighting, power, and cleanup needs
Custom design experience is most valuable when it translates an inventory into coordinated dimensions. Measurements, not product quantity, determine whether the completed wall improves the garage.
Keep the System Easy to Maintain
Label cabinet zones and assign every tool a return location. This practice shortens cleanup because users do not need to decide where an object belongs after each project.
Schedule a seasonal reset before ski season, camping season, or major home projects. Rotating active gear into accessible zones keeps the layout responsive without rebuilding the fixed cabinet wall.
Build Around Measured Use
A successful Salt Lake City garage wall begins with how the household moves, works, parks, and stores seasonal equipment. When inventory, clearances, utilities, load limits, and future needs shape the plan, the result remains functional long after installation.