A garage can become crowded when vehicles, skis, bicycles, tools, camping equipment, and household supplies compete for the same floor area. This Salt Lake City garage upgrade planning guide explains how to convert that conflict into a measured plan for circulation, storage, finishes, utilities, and future needs.
The process applies to a focused garage makeover, a storage-led garage organization project, or a broader garage remodel involving epoxy flooring, insulation, and electrical changes. It covers decluttering, garage shelving, garage renovation sequencing, 3D renderings, permits, budgeting, and long-term maintenance.
Start With How Your Garage Needs to Work
A successful garage plan begins with household behavior rather than products. Rank protected parking, garage storage, bike storage, workshop space, outdoor equipment access, and a finished appearance before assigning walls to cabinets or racks.
Vehicle clearance and daily pathways deserve priority because storage cannot function if occupants must squeeze past car doors or relocate equipment every morning. Storage zones and vertical storage should support circulation, not consume the space required to enter vehicles, unload groceries, or move bicycles outside.
Inventory What Stays, Goes, and Needs a Home
Sort every object into keep, donate, recycle, dispose, or relocate categories before measuring for storage. Decluttering first prevents a garage design from preserving obsolete equipment and makes the retained inventory a reliable basis for capacity planning.
Group retained items by activity, dimensions, weight, and access frequency rather than their current location. A 1-2 day design turnaround can be useful, but speed should not replace a documented inventory, product specifications, or careful comparison of lifetime/7-year warranties and their exclusions.
Define Zones Around Real Household Routines
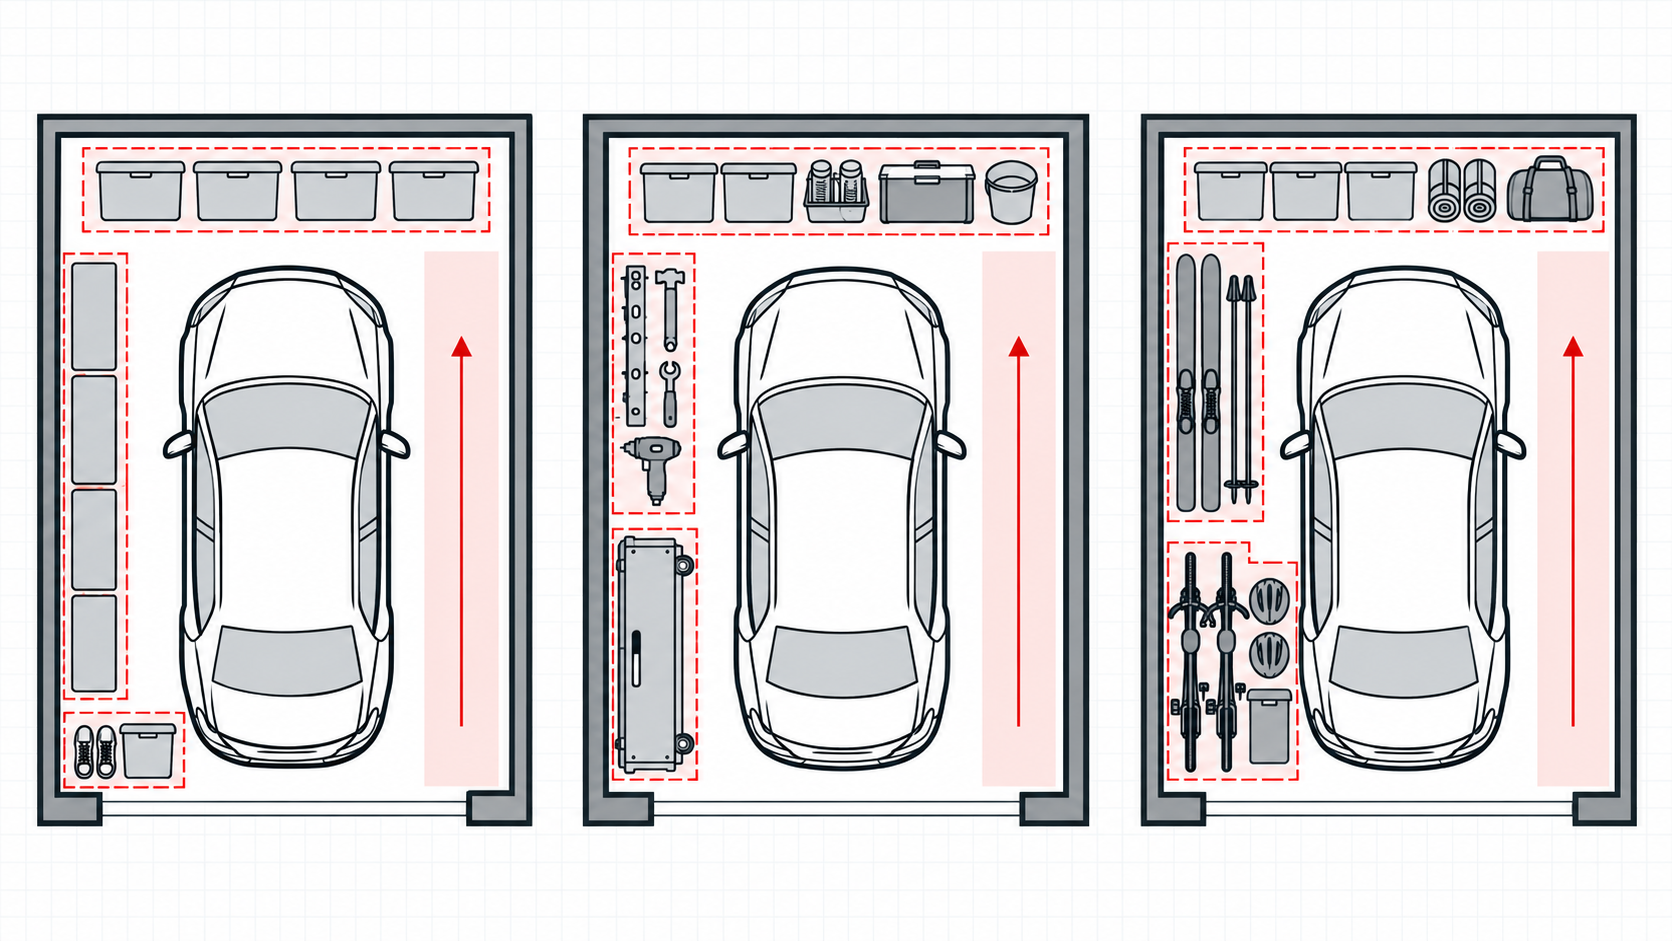
Establish zones for vehicles, tools, sports equipment, gardening supplies, recycling, seasonal totes, and work surfaces. Position bicycles near the exit, tools beside the workbench, and recycling near the household access door when those placements reflect actual routines.
Keep daily items between waist and shoulder height, while lighter seasonal goods can occupy upper shelves. Fully-customized garage designs with 3D renderings are most valuable when they translate these routines into tested dimensions rather than presenting storage as decoration.
Measure the Room Before Designing Storage
Record wall lengths, ceiling height, windows, door swings, outlets, electrical panels, water heaters, vents, and furnace service clearances. These fixed conditions determine where storage can be installed safely and where future maintenance access must remain open.
Measure each parked vehicle with mirrors extended and doors, trunks, or liftgates open where relevant. Painter’s tape placed on the slab can test parking boundaries, cabinet depth, workbench positions, and walking routes before permanent materials arrive.
Protect Clearance and Access
Keep garage-door tracks, openers, service panels, cleanouts, vents, and mechanical equipment accessible. A few additional inches of shelving offer little value if a technician cannot reach equipment or the garage door cannot operate through its full travel.
Residents should be able to retrieve frequently used bikes, bins, and tools without moving a vehicle. This standard exposes layouts that appear efficient on paper but create repeated inconvenience.
Use a Scaled Plan or 3D Rendering
A scaled floor plan confirms cabinet depth, parking capacity, traffic flow, and workbench placement. Wall elevations add the vertical information needed to fit slatwall, hooks, shelves, and cabinets around outlets, windows, tracks, and structural obstructions.
3D renderings help homeowners compare colors, sightlines, and storage volume before installation. When professional installation is planned, dimensioned drawings also reduce field conflicts and clarify the intended mounting locations for each component.
Choose the Right Upgrade Sequence
Permanent, dusty, or behind-the-wall work belongs at the beginning of a garage renovation. Complete repairs, electrical rough-in, insulation, drywall, and floor preparation before installing finished storage that could be damaged or obstruct access.
A practical sequence is repairs, trade work, wall preparation, floor finishing, cabinets, garage shelving, slatwall, hooks, and accessories. Epoxy flooring and other coatings require special protection during later stages, so installation schedules must reflect cure requirements rather than visual completion alone.
Repair and Prepare the Space First
Inspect slab cracks, damaged drywall, poor lighting, deteriorated weatherstripping, inadequate insulation, and evidence of water intrusion. Moisture mitigation and structural repairs must precede garage floor coatings because a decorative layer cannot resolve an active source of water or unstable concrete.
Determine whether slab cracks are dormant surface defects or signs of continuing movement before coating them. The distinction matters because preparation can address minor defects, while significant movement may require specialized evaluation.
Install Floors Before Wall Storage and Cabinets
Floor preparation may include cleaning, profiling, crack treatment, and moisture testing, depending on the coating system and slab condition. Follow the manufacturer’s cure schedule before allowing dust, tires, heavy objects, or cabinet installation onto the finished surface.
Garage floor coatings improve cleanability and create a coordinated appearance, but they do not repair major slab damage or stop groundwater. Treat the coating as a finish within a sound assembly, not as moisture mitigation.
Build a Durable Storage Plan
Match each storage type to item weight, size, access frequency, and available wall or ceiling area. Custom-designed garage systems work best when garage cabinets, shelving, racks, and floor finishes solve distinct storage problems while sharing a coherent layout.
Adjustable components accommodate changing bicycles, children’s sports equipment, camping supplies, and household hobbies. Fixed storage can look orderly at installation yet become restrictive when equipment dimensions or family routines change.
Use Wall Space for Flexible Storage
Published specifications for powder-coated steel shelving vary by unit design, with one heavy-duty listing rated at 600 lb per shelf and 3,000 lb total; verify the rating for the exact product before loading dense bins. Adjustable hooks and slatwall keep tools, bags, and sports gear visible.
Bike storage racks free floor area, but their placement must account for handlebar width, lifting motion, pedals, and the route to the garage door. Anchor load-bearing products into framing or suitable masonry according to manufacturer instructions and field conditions.
Drywall alone does not provide a dependable attachment for heavily loaded shelves or dynamic loads created by removing equipment.
Use Cabinets and Overhead Storage With Purpose
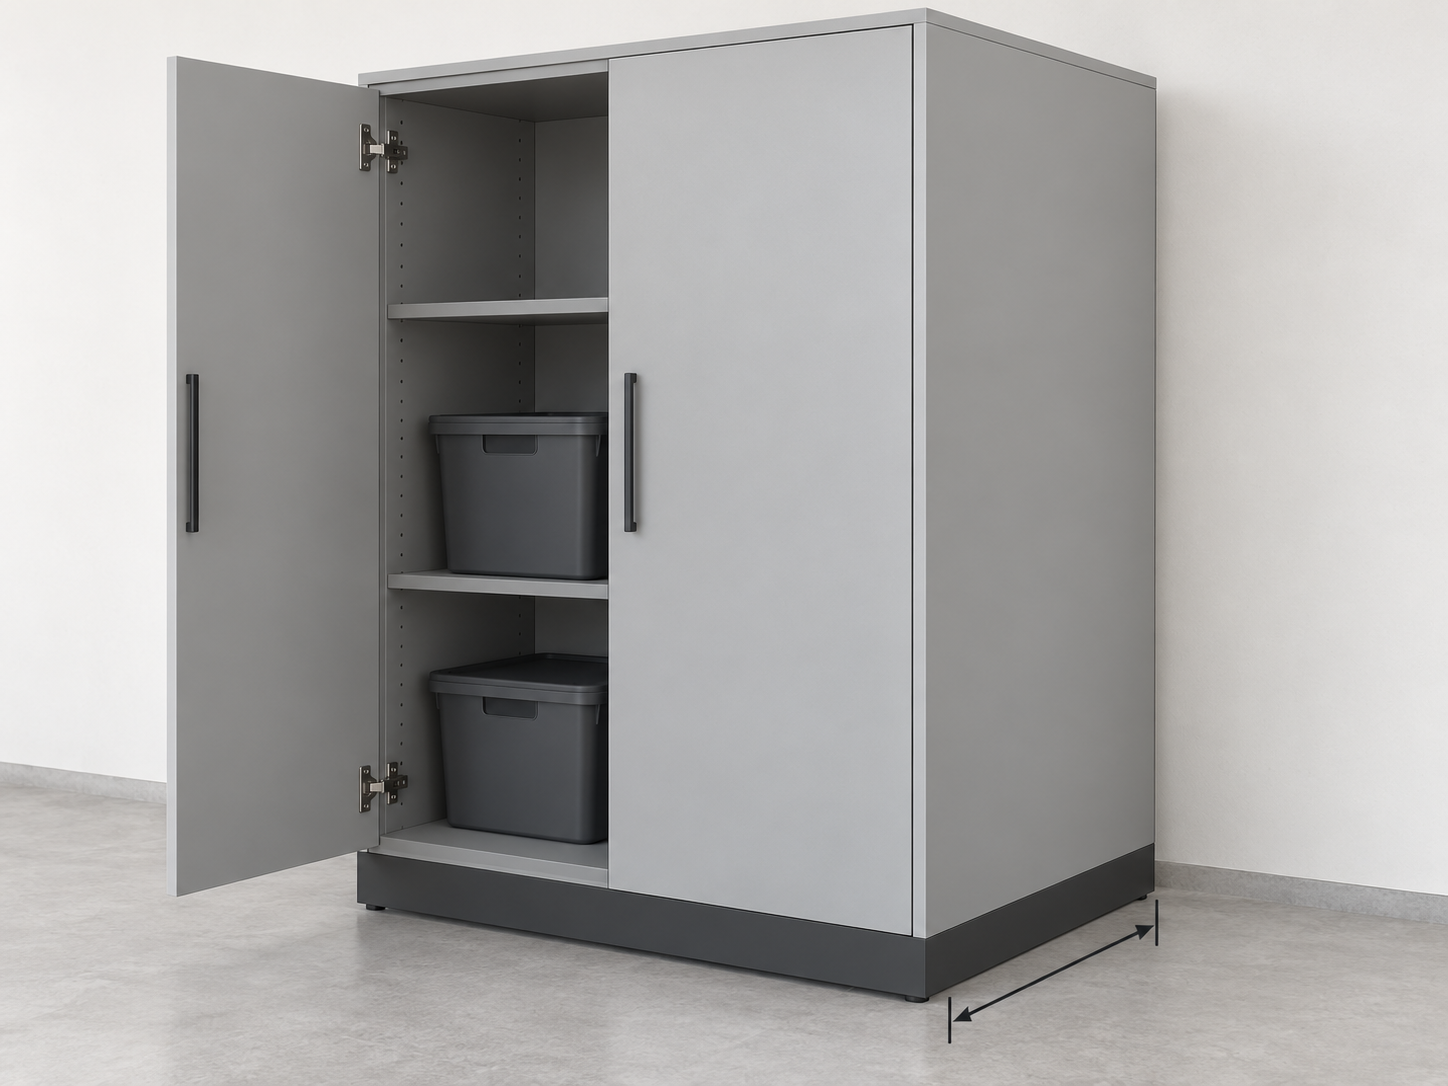
Use cabinets for small tools, chemicals, protected supplies, and visual order. Chemical storage should also follow label requirements and remain inaccessible to children, since an enclosed cabinet does not automatically make incompatible products safe.
Reserve overhead racks for labeled, lighter seasonal totes that occupants retrieve infrequently. Heavy or frequently used objects belong lower to reduce ladder retrieval, because carrying items while climbing is reported as a factor in 50% of ladder-related accidents.
Plan Lighting, Power, and Climate Details
Garage lighting should support parking, storage identification, workbench tasks, and safe movement during Salt Lake City’s darker winter hours. For general parking and storage, plan about 30-50 foot-candles of lighting, then use evenly spaced overhead fixtures and dedicated task lights at cabinets and workbenches to limit shadows from tall storage, open hatches, and overhead racks.
Map electrical needs for chargers, tools, refrigerators, work surfaces, and possible future equipment before finishing walls or installing cabinets. Salt Lake City’s climate has cold, snowy winters and hot, dry summers, so climate normals support prioritizing air sealing, insulation, controlled ventilation, and drainage for winter heat loss, snowmelt moisture, and summer heat.
Layer Lighting for Parking and Task Areas
Combine broad ambient fixtures with focused task lighting at workbenches and tool stations. Place fixtures so an open garage door does not block the primary light source and stored equipment does not create dark walking areas.
Select fixture locations from the completed storage plan rather than the empty room. This approach prevents garage lighting from landing above cabinets or behind overhead storage.
Treat Electrical Changes as Scope Items
Qualified professionals should assess new circuits, electrical outlets, lighting, and permit requirements. Tools, vehicle chargers, appliances, and heating equipment can impose different electrical demands, so outlet count alone does not establish adequate capacity.
Keep outlets and controls accessible after workbenches and cabinets are installed. A scaled elevation can reveal concealed receptacles before fabrication, avoiding extension cords and difficult alterations later.
Check Salt Lake City Rules and Set a Working Budget
For cabinets and shelving inside an existing garage, Salt Lake City-area guidance generally does not require a building permit when the work is limited to non-structural interior storage installation and does not involve electrical, plumbing, mechanical, wall, or structural changes. The permit guidance for interior work identifies walls and plumbing, mechanical, and electrical work as permit-triggering scope items, while racking taller than 5 feet 9 inches may also require review.
Salt Lake City requires permits for work that alters, reconstructs, converts, or changes the use of a building, so structural alterations, electrical, plumbing, mechanical/HVAC work, and garage-to-living-space conversions require permit review. Verify current requirements with Salt Lake City Building Services before work begins because project details and property conditions affect review.
Build the budget around preparation, material durability, labor, permits, disposal, and a contingency for concealed damage.
Know When Permits May Apply
A detached garage, addition, conversion, or other accessory structure may require zoning and construction review. Published guidance uses different permit-exempt thresholds, including Salt Lake City accessory-building material that references 120 square feet and other Utah guidance that references 200 square feet, so confirm the current rule and property-specific restrictions with the city.
Trade work can require approval even when storage installation does not. Separating cosmetic work from regulated construction makes the schedule and budget more accurate.
Separate Must-Haves From Future Phases
Fund safety repairs, weather protection, parking function, lighting, and core storage before decorative finishes. These elements determine whether the upgraded garage works reliably, while color changes and optional accessories can follow later.
A phased garage remodel should still reserve space and electrical capacity for future cabinets, racks, or work equipment. Planning those locations early prevents the first phase from blocking the next one.
Avoid Layout Mistakes and Finish With a Maintenance Plan
Common garage design failures include planning around existing clutter, blocking utilities, ignoring vehicle doors, and purchasing storage before measuring. Each failure originates from treating available wall area as usable capacity without testing circulation or service access.
A family garage might place bikes near the exterior door, labeled seasonal bins overhead, tools beside a lit workbench, and vehicles inside taped or coated parking bays. That arrangement succeeds because each category follows a routine while the floor remains available for parking and movement.
Common Garage Layout Mistakes
Do not sacrifice door opening, walkways, liftgate clearance, or garage-door operation to gain a narrow strip of storage. Avoid putting daily gear overhead, concealing outlets behind fixed cabinets, or creating a work zone without task lighting.
Storage capacity should be judged by safe access as well as volume. A rack that technically holds an object is poorly placed if retrieval requires unstable lifting or vehicle relocation.
Maintain the System After Installation
Label bins, return equipment to assigned zones, and clean floor coatings with products approved by the coating manufacturer. Inspect hooks, anchors, shelves, and overhead racks for damage, loose hardware, or overloading.
Review the layout at the beginning and end of each outdoor season. Rotating ski, bike, camping, and gardening equipment into accessible zones prevents the upgraded garage from returning to disorder.