A crowded garage usually wastes its highest cubic feet first, especially the strip above the garage door where seasonal bins can live without touching the floor. In Utah, the hard part is not buying an overhead rack, it is choosing a layout that clears garage door tracks, the garage door opener rail, torsion spring hardware, and the tallest vehicle you actually park.
This guide is intentionally informational. It walks you through clearance measurement, safety considerations, and overhead rack layouts that work in real Utah homes, including low ceilings, tall SUVs with roof racks, and winter and summer gear rotations. The goal is space saving storage that still keeps daily parking stress-free and preserves your workbench area.
Looking for installed solutions instead of DIY planning? See our overhead garage storage service page for options, timelines, and what a professional layout looks like in a real garage bay.
Quick answer: the safest way to plan above-garage-door storage
Start by measuring with the garage door fully open, then map three “no-conflict” lines: (1) the door’s travel path and track radius, (2) the garage door opener rail and trolley path, and (3) your vehicle’s true height including roof racks or cargo boxes. If any one of those lines is tight, choose a shallower rack (often 4’x6’) and reduce the drop length, or move the rack deeper into the garage bay over the hood where conflicts are usually lower.
If you are unsure whether you have ceiling joists versus engineered trusses, or you cannot confidently hit framing with lag bolts, treat the install as structural work and get a pro to verify attachment points and clearances. (If you want that handled end to end, start here: overhead garage storage.)
What above-garage-door storage is (and when it works best in Utah)
Above-garage-door storage uses the airspace above the garage door tracks and below the ceiling plane for seasonal storage totes and lightweight bulky items that do not need weekly access. In Utah garages, that zone matters because snow gear, camping equipment, and holiday décor consume volume more than floor area.
This approach differs from wall systems, slatwall, garage shelving, and cabinets because it preserves the parking footprint and keeps the workbench zone from becoming a storage shelf. Overhead racks solve a different problem than wall storage, they reclaim dead space that daily-use tools should not compete for.
Best-fit use cases are uniform 27-gallon tote storage, spare coolers, empty luggage, and low-frequency sports gear. The tradeoff is accessibility, overhead storage is less convenient than shelves or cabinets for heavy items or anything you need every week.
Utah garage realities that change the plan
Product diagrams often assume a clean ceiling plane and a standard opener layout. Utah garages frequently add constraints that change what “fits” on paper.
- Low ceilings (common in older homes and some townhomes) reduce usable drop length, which is where most clearance mistakes happen.
- Tall vehicles (full-size SUVs, vans, trucks) plus roof racks, ski boxes, or overland accessories can eliminate the “safe” zone above the hood.
- Attic access, HVAC ducts, and lighting can force you into split-rack layouts, or a shallower rack near the door.
- Engineered trusses require more caution than simple joists. Attachment rules depend on the rack manufacturer and the truss design.
Key terms you will see (and why they matter for clearance)
Garage door tracks define the first no-build zone. A rack that looks centered from the floor can still fail if its frame crosses the track radius near the header.
Garage door opener rail is the second conflict line down the middle of many bays. You need clearance not just for the rail, but for the moving trolley and arm.
Torsion spring and header area matter because the door transitions there and moving hardware needs uninterrupted space. Your “safe” overhead zone starts only after you confirm where the door actually travels when open.
Clearance checks: the Utah-specific checklist (do this before you shop)
Clearance errors happen when people measure empty air instead of moving parts. Use a tape measure, a step ladder, a stud finder, and a helper if possible. Take photos and write the numbers down, you will forget them when you start comparing racks.
Step 1: measure the door’s true highest point (door fully open)
Open the garage door fully and do your clearance measurement from the floor to the highest point of the door panel at its highest travel position. That number is more important than the track height you see at the wall, because the door’s arc near the header is where most conflicts happen.
Step 2: map the track radius and the “do not cross” zone
At the header, identify where the track curves. Your rack frame and bins must not intrude into that curved travel space. Build in a safety buffer so vibration and seasonal settling do not turn storage into an obstruction.
Step 3: measure the opener rail and trolley path
Measure the height of the garage door opener rail and note its position relative to the bay centerline. A rack can clear the rail but still interfere with the moving trolley or the arm connection depending on the opener style.
Step 4: measure your tallest vehicle as parked
Measure the tallest vehicle you park in that garage bay, including roof racks, cargo boxes, antennas, and bike trays. If you occasionally park a taller vehicle (or add a ski box in winter), plan for that reality, not the lowest-profile day.
Step 5: confirm the ceiling structure you will fasten into
Overhead racks must fasten into framing with the specified fasteners, usually lag bolts into ceiling joists or into approved attachment points. Drywall anchors are not appropriate for suspended storage loads.
Practical next step: once you have these measurements, it is much easier to choose a layout and get an accurate install plan. If you would rather have a pro confirm clearances and attachment points, start with our overhead garage storage service.
Safety rules: joists, engineered trusses, lag bolts, and load rating
Overhead storage is safe when it is treated like structural work. The rack is only as strong as what it is fastened to, and the rack’s published load rating is not the same as guaranteed weight capacity in your specific garage.
Joists vs engineered trusses
If you have ceiling joists, you typically have clearer, repeatable attachment points. If you have engineered trusses, you need to follow manufacturer guidance and avoid “winging it,” because trusses are engineered systems and improper fastening can compromise them.
Fasteners and attachment
Use the fasteners specified by the rack manufacturer and hit framing members, not just drywall. If you cannot locate framing confidently, stop and get help. Overhead loads add risk because failure is not just a mess, it can damage vehicles and injure someone.
Load planning: think in totes, not pounds
Most homeowners should translate capacity into tote count and habits, not raw pounds. A simple, safer policy is to standardize one tote size (a 27-gal tote is common), label everything, and keep heavy items low on shelves or in cabinets instead of overhead.
Keep weight centered and evenly distributed. Avoid loading unstable or leaking items overhead.
Header clearance and “no-conflict lines” (the mistake that causes rework)
Most above-door rack failures come down to header clearance. The rack can look fine with the door closed, then bind or scrape when the door is fully open because the door panel and track radius occupy the same space you planned to use.
When in doubt, treat the area nearest the header as a “no-build” zone, then position the rack so the lowest point of the frame and the lowest tote edge stay clear of the door’s highest travel point. This is the core safety considerations step that prevents the do-it-twice scenario.
Overhead rack layouts that fit Utah garages
Good layouts respect three rules: clear the door’s travel path, clear the opener rail and moving parts, and align with framing for safe attachment. The “best” layout is the one that survives daily parking without making you guess clearances.
Layout 1: shallow above-door rack (best when the strip above the door is your only free space)
This layout uses a shallower rack (often 4’x6’) positioned to stay out of the track radius and opener conflicts. It is ideal for uniform seasonal bins that you access a few times per year.
Works best when: the door opens high enough that you can keep a buffer between the fully open door and the lowest point of the rack and bins.
Watch-outs: track radius near the header, torsion spring area, and any lighting or attic hatch near the front of the bay.
Layout 2: mid-bay rack over the hood (best all-around for clearance)
Placing the rack deeper into the garage bay often reduces door-track conflicts and can make access easier. Many Utah garages do better with a mid-bay rack than a true above-door rack, especially when the opener rail runs close to the front.
Works best when: you have enough ceiling height and your vehicle height leaves a comfortable buffer under the rack.
Watch-outs: tall vehicles and roof accessories, and keeping the rack clear of the opener rail and trolley path.
Layout 3: split racks by bay (best for two-car garages with center conflicts)
In a two-car garage, two smaller racks often outperform one large unit. Split layouts preserve balanced access and avoid central opener, lighting, duct conflicts, or attic access points. They also let you reserve one side for a taller vehicle.
Works best when: you have mixed vehicle heights or a center-mounted opener rail that makes a single wide rack awkward.
Layout 4: low-ceiling and tall-vehicle setup (best when vertical space is tight)
If ceiling height is limited or you park a tall SUV, reduce drop length aggressively and use shallower bins. In some garages, the safest “overhead” plan is actually wall-based storage plus a very small overhead zone for light, flat items.
Works best when: you prioritize daily parking confidence over maximum cubic-foot storage.
If you want help choosing the right layout for your ceiling height, vehicle height, and obstructions, our overhead garage storage team can map it for your garage bay.
Standard sizes and configurations (4’x8’ vs 4’x6’)
Most overhead racks come in a few standard sizes, and your best choice is usually driven by clearance and framing, not by the biggest footprint that fits on paper.
- 4’x8’ racks maximize capacity per rack, and they work well in a spacious bay where you can stay clear of tracks, the opener rail, and lighting.
- 4’x6’ racks are often the safer “above-door” choice, especially when header clearance is tight or you need to avoid attic access and HVAC ducts near the front of the garage.
Common configurations include a single rack centered over the hood, a shallow above-door rack plus a deeper mid-bay rack, or split racks by bay for mixed vehicle heights.
Quick rack comparison (what to look for beyond size)
If you are comparing racks, focus on three things: the mounting method (how it hits framing), adjustability (how precisely you can dial in drop length), and the published weight capacity for evenly distributed loads. Some “heavy duty” racks advertise a 600 pounds rating, but real-world safety depends on proper attachment and how you load it.
Also consider access. The best rack is not the one that holds the most, it is the one that keeps items reachable without turning storage into a ladder obstacle course. Plan for Easy Accessibility by reserving overhead space for seasonal, lightweight bins and keeping daily-use tools at hand level.
Installation process: DIY vs professional installation
The installation process is straightforward when your ceiling structure is simple and clearances are generous, but it gets complicated fast when you have engineered trusses, tight header clearance, or multiple obstructions.
DIY installation makes sense when
- You can confidently locate framing members and follow the rack’s fastener requirements.
- Your garage door opener rail and door travel path leave obvious clearance.
- You can test-fit placement before drilling and you have a helper to hold the frame level.
Professional installation is the safer call when
- You have engineered trusses, uncertain framing, or limited header clearance.
- You need to work around attic access, HVAC ducts, or lighting.
- You want a “do-it-once setup” with verified attachment points and repeatable clearances for daily parking.
If you are looking for local installation in Northern Utah, a pro can also help you choose the best rack layout for your exact garage bay, vehicle height, and storage habits. Start with our overhead garage storage service page.
Integrating overhead storage with garage organization
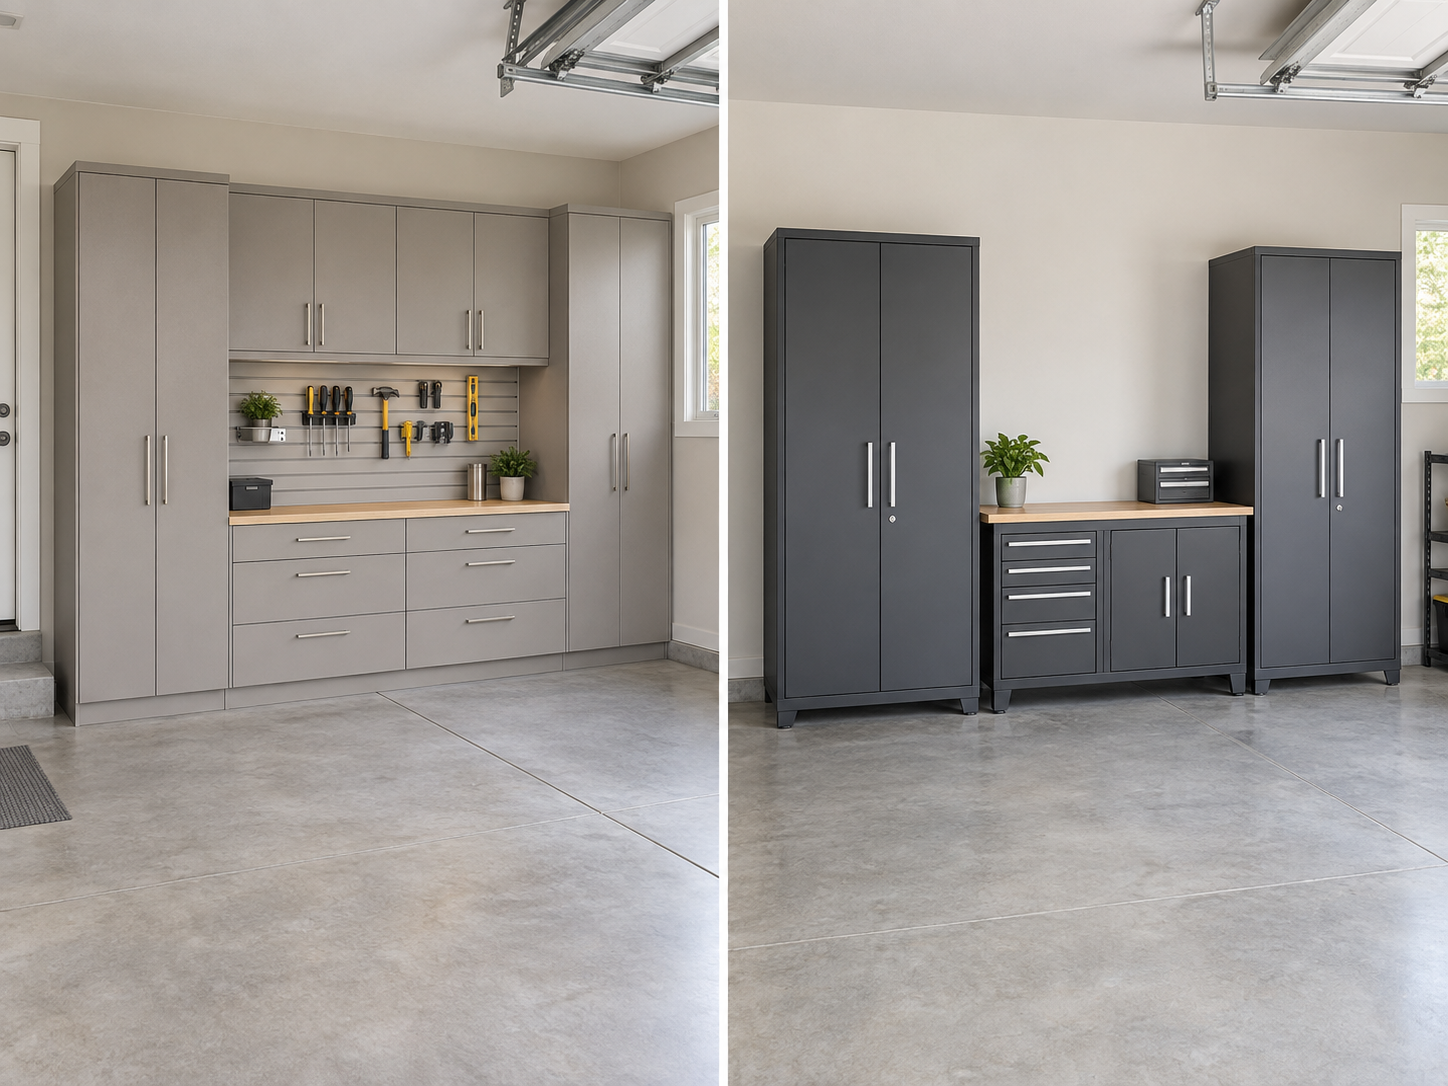
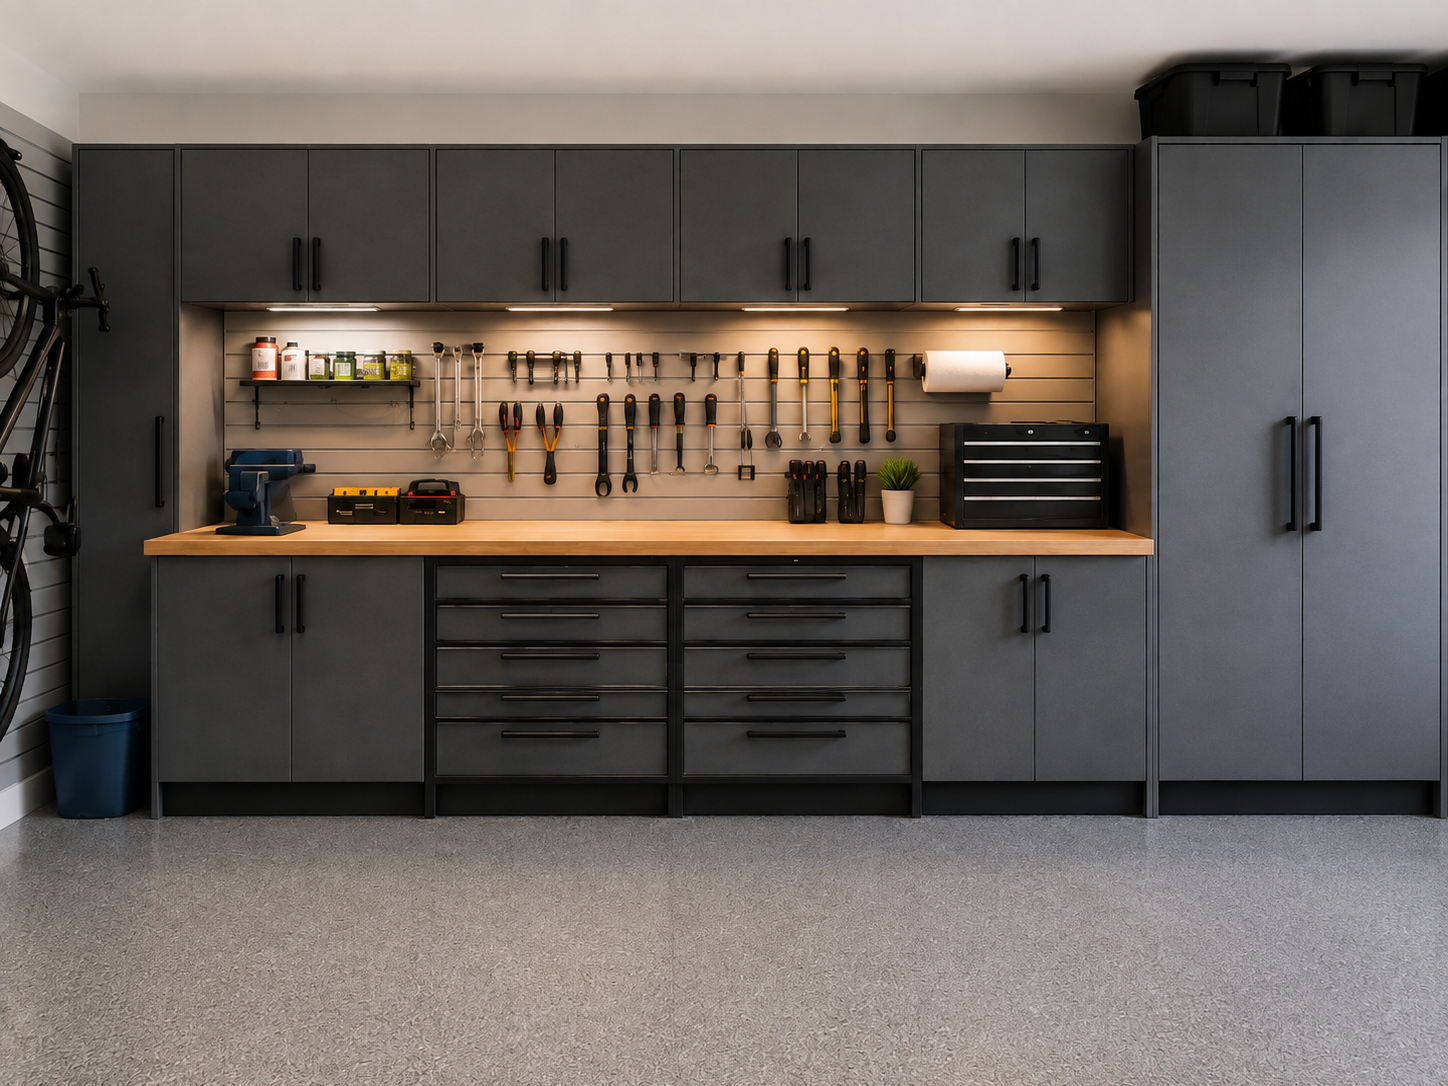
The strongest garage plan uses overhead storage for seasonal bins, garage shelving or cabinets for daily-use items, and slatwall near the workbench for tools. This division protects floor space while keeping pathways clear and lighting effective under rack shadows.
A zone approach works well in Utah: parking zone, tote zone, tool zone, and sports or yard zone. Overhead storage should complement the rest of the system, not replace it. When the zones work together, you get true garage organization instead of “stuff moved upward.”
If you are building the full system, our overhead garage storage work pairs well with shelving and slatwall so the overhead zone stays seasonal and the daily-use zone stays reachable.
Notes on custom-designed garage systems (when overhead is part of a full plan)
If you are planning a full garage refresh, overhead racks work best when they are designed alongside cabinets, slatwall, and shelving as part of custom-designed garage systems. The advantage is that you can protect the workbench area, reserve overhead for seasonal totes, and keep daily-use gear at reach height.
Some homeowners prefer fully-customized garage designs with 3D renderings so the rack placement, door travel path, opener rail, lighting, and attic access are all considered before anything is installed. If fast planning matters, a 1-2 day design turnaround can help you make decisions while you are still motivated to declutter.
Cost, planning sequence, and next steps
Cost is driven by rack size, load rating, adjustable-height hardware, and how much the layout must work around tracks or the opener rail. A 4’x8’ rack can deliver better value per cubic foot, but a 4’x6’ rack often wins if it avoids expensive rework in a tight above-door zone.
The smartest next step is a simple sequence: confirm clearance with the door fully open, verify safe attachment points, choose a layout that fits your vehicles, then standardize bin sizing before you buy. A good overhead layout saves floor space. A bad one steals convenience and creates daily clearance anxiety.
If you want a plan you do not have to second-guess, start with our overhead garage storage service and get a layout built around your garage bay, opener setup, and vehicle height.